
Embroidery 101: Coral Stitch
The Coral Stitch can be used as either an outline stitch or a filling stitch. It is generally worked right to left {I actually took my photos working it left to right…so they’ve all been flipped…sorry!}. When working the stitch, decide how many knots to place along the length of the design, then base the stitch length on that.
To use this as a fill, simple work several rows, alternating the locations of the knots and the length of thread. Although this stitch is called a Coral Stitch, it makes me think of a woven basket {hint, hint}.

Start at the beginning of the stitching line and place the tail of the thread along the line.

Make a small stitch under the thread where the knot is going to go. The thread will also create a loop, which is what will form the knot.
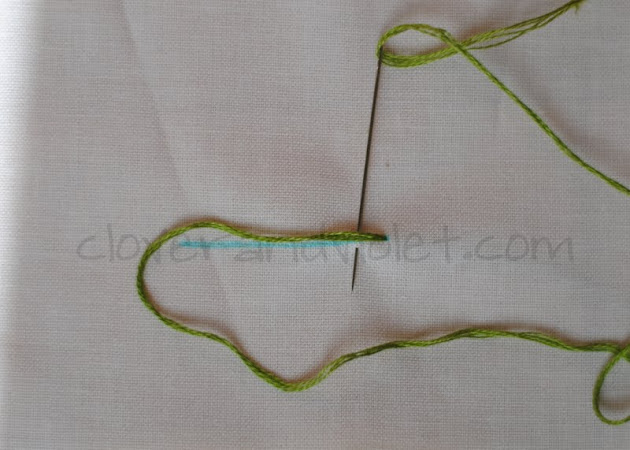
{I’ve moved the thread out of the way in this photo to show the small stitch:}
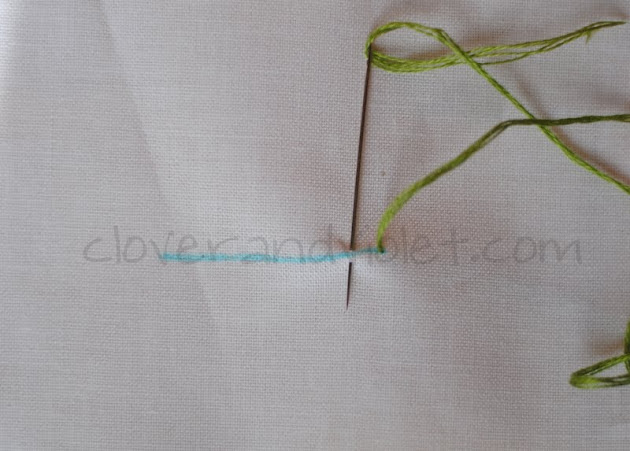
Then, pull the needle through the stitch and through the loop created by the thread.

Pull gently until a knot is created that holds the thread in place and continue along the stitching line.

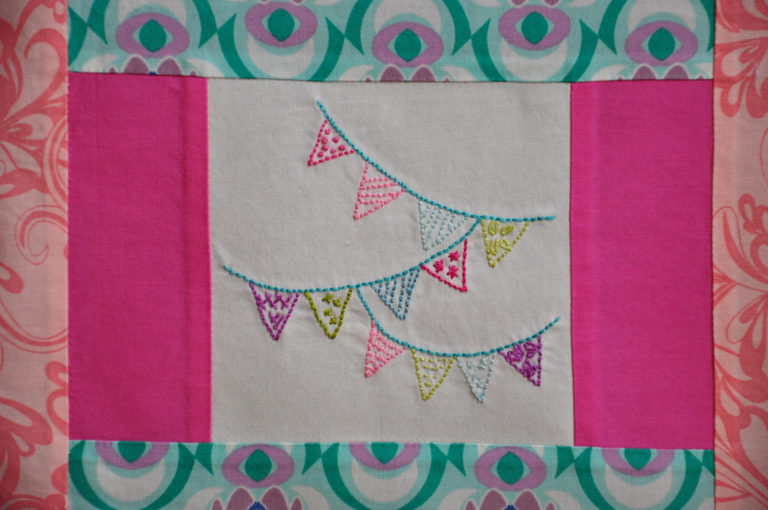
Here’s a picture of what a finished row might look like. After making the final knot, simply stitch the thread back into the fabric.

This is really a quick stitch, but adds a lot of dimension to any project.


That is a super cute stitch, I could see it as waves. One day I’ll get around to it…
Love your post at Sew WE Quilt! Thanks for sharing. I have been looking for a something like this, the Stitch and Quilt Along may be just the thing for me!