Skip to content
Join the Zipper Pouch Challenge!
Facebook
Instagram
Pinterest
Home
Shop
Sewing Club
Blog
Quilter’s Photo Guide
Contact
Search
Shopping Cart
0
Toggle Menu
Tutorial
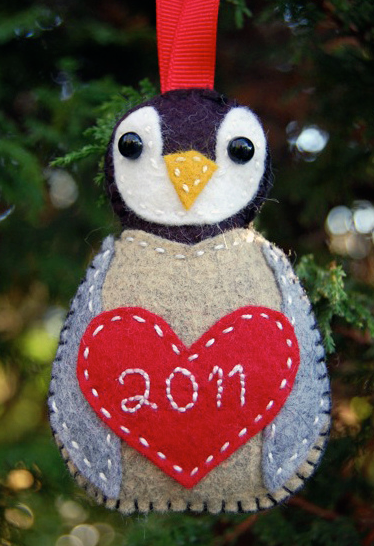
“Little Chick” Baby’s 1st Christmas Felt Penguin Ornament (Tutorial)
Tutorial
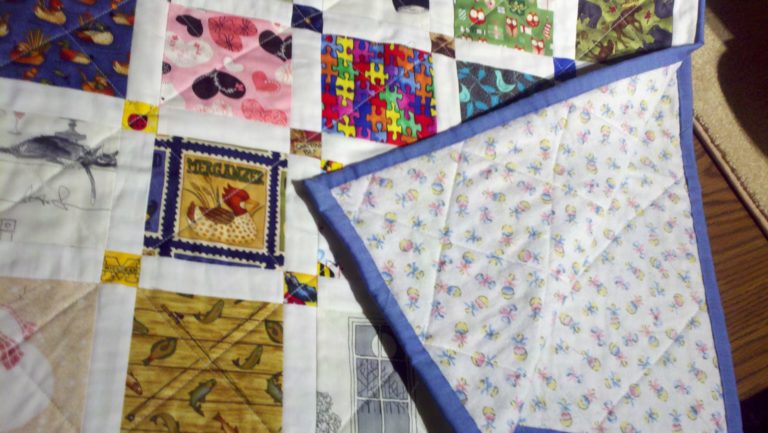
I-Spy Baby Quilt (Tutorial)
Tutorial
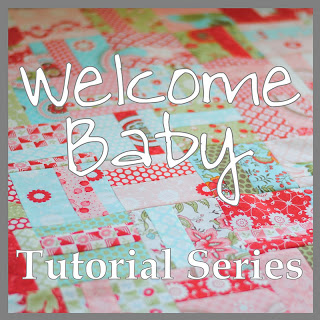
Welcome Baby (Tutorial Series)
Tutorials
Tutorial
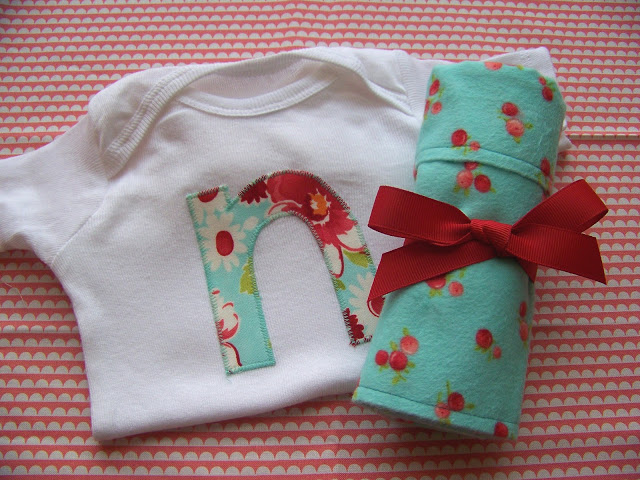
Burp Cloth and Onesie Gift Set (a tutorial)
She’s Here!
Tutorial
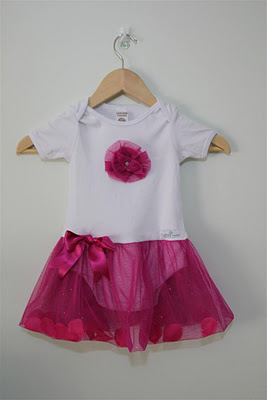
Easy Onesie Tutu (a tutorial)
Tutorial
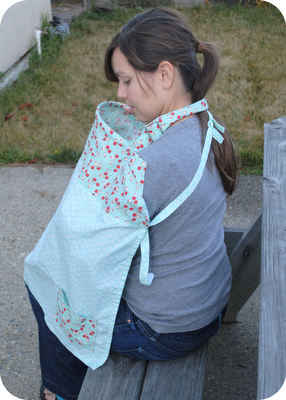
Not Your Average Nursing Cover (tutorial)
Home
Shop
Sewing Club
Blog
Quilter’s Photo Guide
Contact
Toggle Menu Close
Search for:
Search