
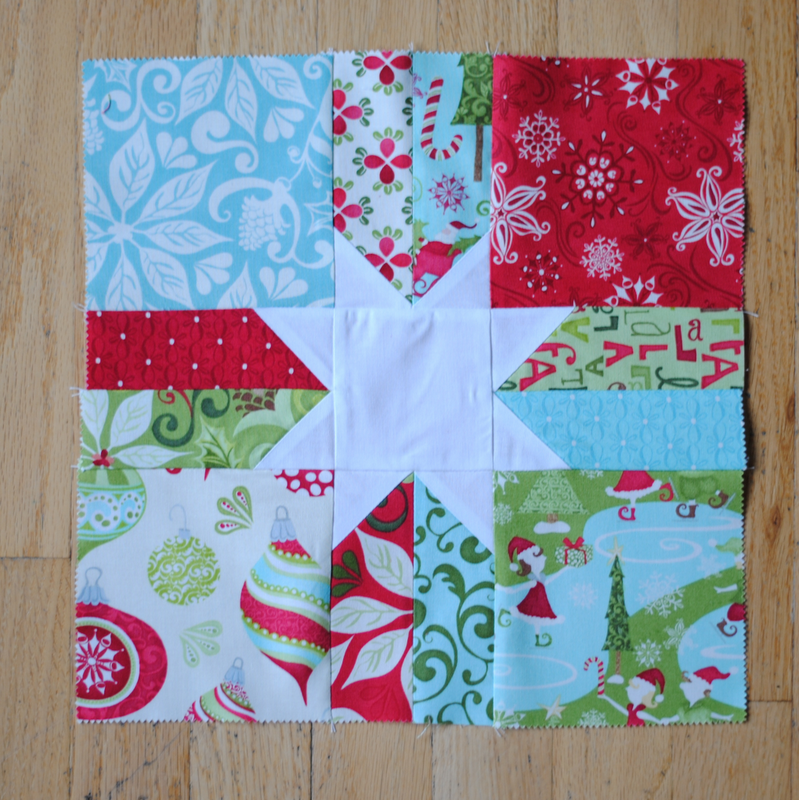
Scrappy Star Quilt Block Tutorial Two Ways
Some of my favorite things are start quilt blocks, charm squares, and the scrappy look. So, I’ve combined all of those into this bright star block.

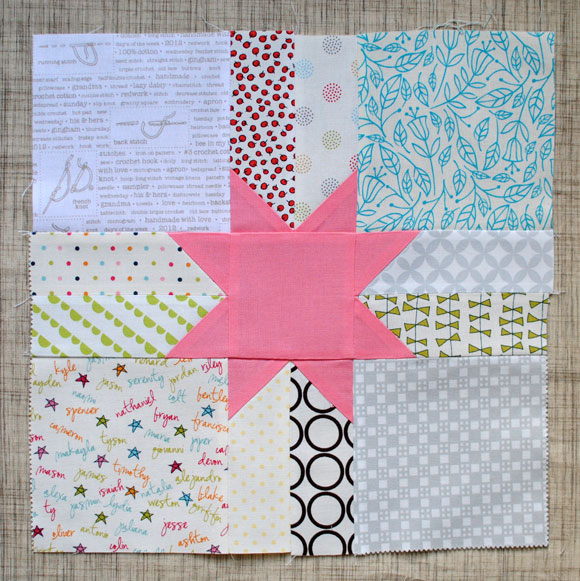
For another look, use low volume fabrics and a bright star, like this:
The block measures 12 1/2″ square, and will finish to 12″. All seam allowances are 1/4″. You will need:
- 8 – 2″ squares {star fabric}
- 1 – 3 1/2″ square {star fabric}
- 8 – 2″ x 5″ rectangles
- 4 – 5″ squares

Draw a line diagonally across all the 2″ squares. I like to use a water soluable pen, then I can spray the marks away with distilled water before ironing.

Place the white squares on one end of each of the 2″ x 5″ rectangles. Half of the diagonal lines should point left to right, the other half right to left {as shown in the image below}. Stitch along the lines.

Measure 1/4″ from the line toward the short end of the rectangle…

…and trim the corners away.

Press the triangle toward the bottom of the block. This will create all the points of the star.

Sew the rectangles together in pairs with the point of the printed fabric in the center.

Press the seams open to reduce bulk.

Repeat until all the star points are sewn. Arrange the points and 5″ squares around the 3 1/2″ square as desired and sew them together into three rows.

I pressed my seams for the top and bottom rows toward the 5″ squares, and for the center row towards the 3 1/2″ square. This will allow your seams to nest nicely. When sewing the points to the 3 1/2″ square, I like to sew with the point fabric on top {still right sides together} up so I can stitch right through the center where all the colors meet.

Join the three rows together in the same manner, and you’ll have the finished star.
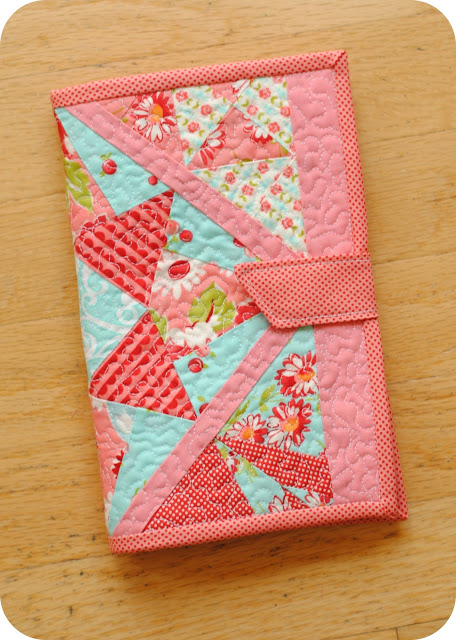
For another variation, use a string piecing method to replace the printed fabrics{this was my first string piecing attempt…it took me hours, but was worth it!}. To make the chevron pieces with the star points, cut 4 – 4″ x 5″ rectangles out of paper, draw a 45° degree angle from the top left corner of two of the rectangles, and the top right corner of the other two {Edit to add: find a tutorial on the chevrons and using selvages here.}. Then use this angle for the pieces. When finished, cut the rectangles into 8 – 2″ x 5″ pieces and arrange the chevrons. Continue as for the rest of the block.

Great block
very colorful…nice job
Beautiful block and the string block is amazing as well. Great job on both. Thank you so much for the tutorial.
I’m a newbie quilter, but I think I can do this block. It’s lovely!
Both blocks are so cute and make use out of Christmas fabrics. I have some Christmas fabric. Hmm. Maybe I will have to join in.
bellissimo blocco appena finito di cucire ,ho fatto il primo quello con i quadrati semplici agli angoli,semplice mi è riuscito benissimo.grazie per il tuo tuturial
I really like the string pieced block – it’s Chrstmas-y without screaming Christmas..
Great block! Thanks.
Your string star is absolutely spectacular!!!
love it – great christmas block – thanks so much
I am taking notes! Great block and thanks for the tutorial. 🙂
Oh so pretty Jennie, I would love a whole quilt made out of those stars!!
Sooo fun! Thanks!
Wonderful tutorial!
Holy Cow! That string pieced block is amazing. That must have taken hours. I have a big stash of Figgy Pudding jelly rolls, honey buns, and some yardage. Maybe I’ll pull it out!
Great block. Love the strips.
love this block, I have been looking for a block to make a quilt out of my Dad’s old shirts, he passed away in May, so I am going to make a quilt for my Mom.
This block will be perfect for all the odd pieces. Thank you for your blog.
I think these would make nice & quick pot holders to give as gifts!
Sure enjoyed making this block! I was too late for the Global Bee, but was directed here by all the Scrappy Stars that have been popping up in blogland!
Is the seam allowance in the measurements or do I need to add that in?