
Ruffle Girl Tote Bag – Lovebirds Fabric
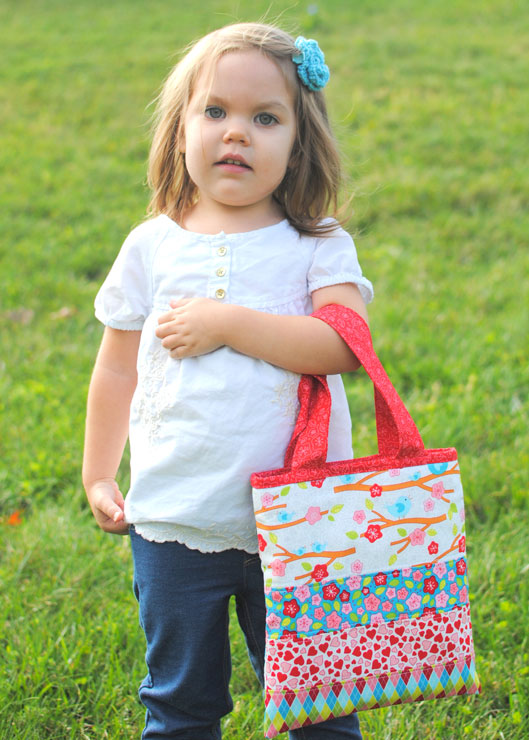
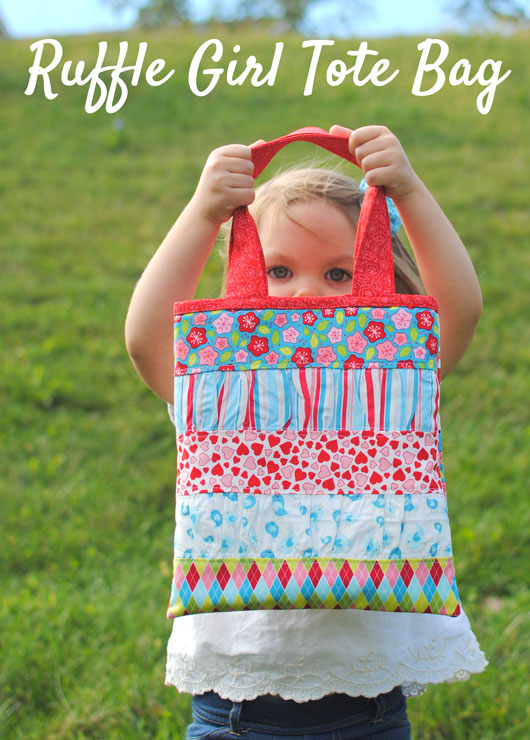 It’s that time of year again, Fall Quilt Market is this weekend! We had the privilage of sewing with one of RJR Fabrics new lines, Lovebirds by Patrick Lose! We have a new pattern and a free pattern in the works, but for today, I wanted to share a ruffly version of our patchwork book bag!
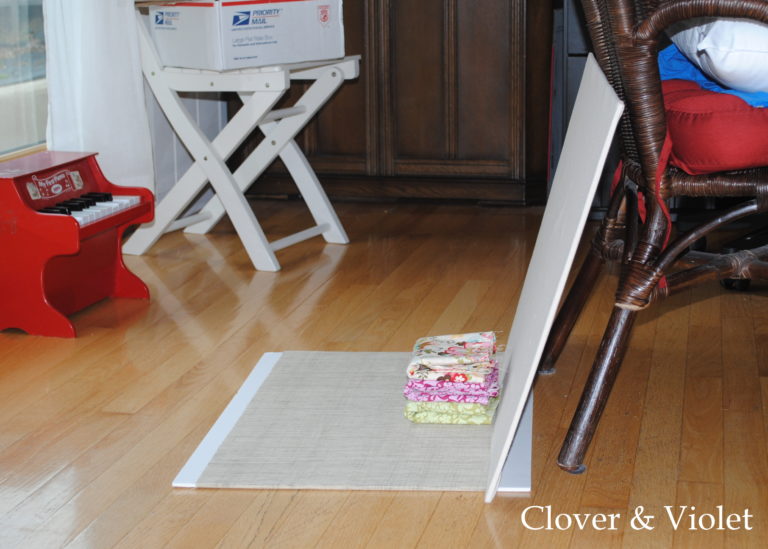
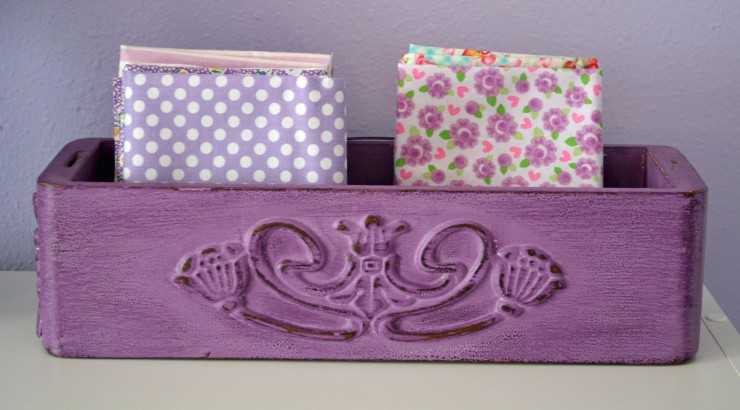
Fabric requirements:
- 6 – 10″ x 2 1/2″ strips for flat strips
- 2 – 14″ x 2 1/2″ strips for ruffle strips
- 1 – 10″ x 5″ strip for back
- 2 – 10″ x 11″ rectangles for lining
- 2 – 4″ x 16″ strips for handles
- 1 – 2 1/2″ x 25″ strip for binding
Batting & Supplies:
- 2 – 11″ x 12″ rectangles flannel
- Coordinating thread for quilting
- Ruffler foot (optional)
Read all directions before beginning. All seam allowances 1/4″ unless otherwise stated.
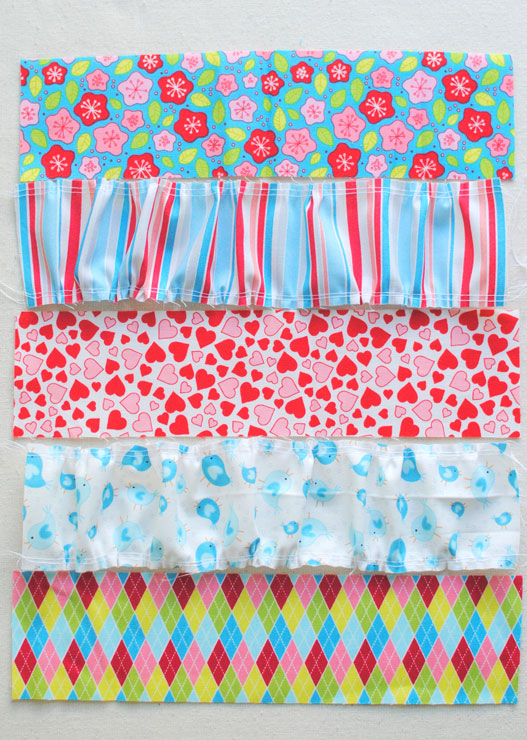 Gather the two 14″ x 2 1/2″ strips until they are 10″ wide. The strips can be gathered by setting your sewing machine to a long stitch and then sewing 1/8″ from each long edge. Then, select one thread (top or bottom) and pull gently to gather the fabrics.
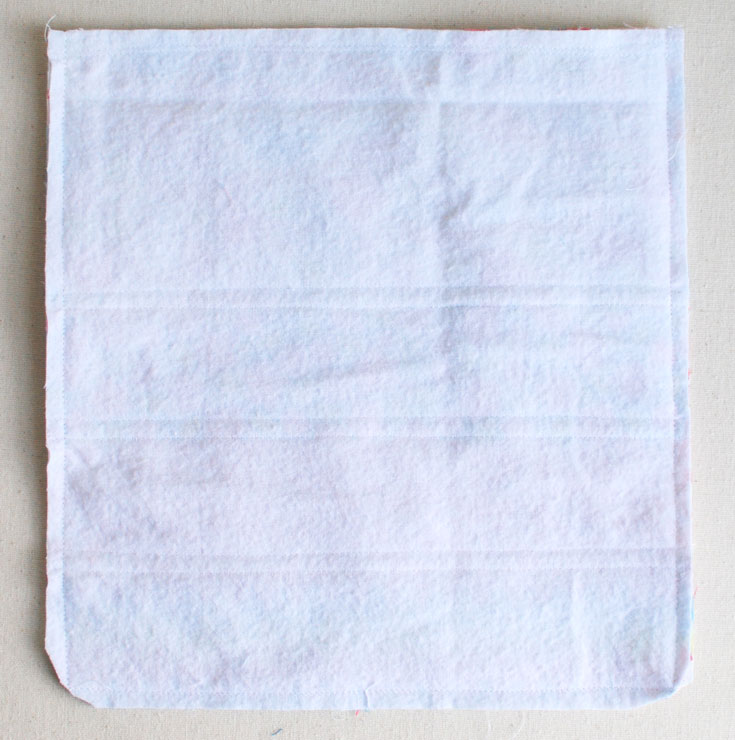
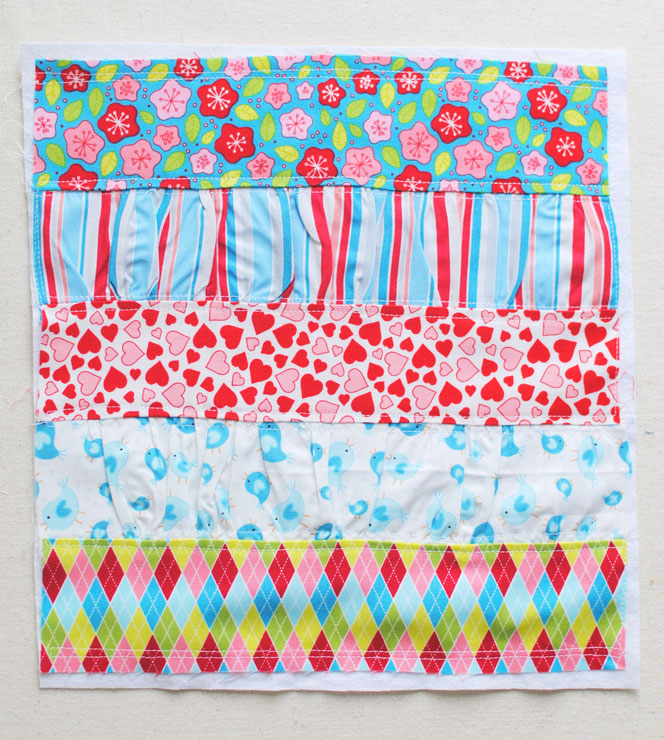 Sew the two ruffle rows lengthwise between three of the 10″ x 2 1/2″ strips to make the front. Place the patchwork panel on the 11″ x 12″ piece of flannel and quilt in place (we stitched 1/8″ from each seam. Trim the flannel to the size of the patchwork.
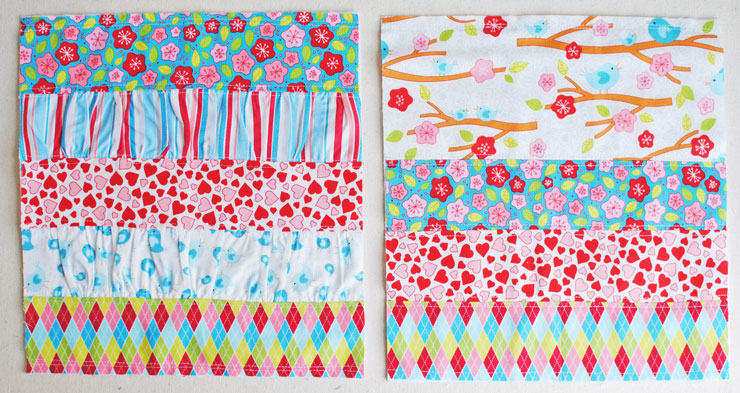 Sew the remaining 10″ wide strips together to form the back. Place on flannel and quilt as for front.
 Place the front and back right sides together and sew side and bottom together. Clip corners. Repeat with two lining pieces, but use a 3/8″ seam allowance so the lining will not be loose.
 Place the lining inside the bag body, line up side seams, and pin in place.
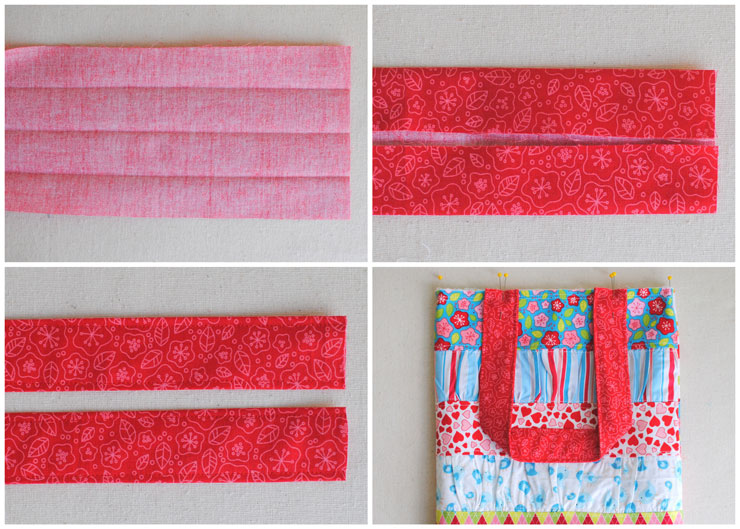 Make handles by folding the 16″ x 4″ strips in half lengthwise, wrong sides together and pressing. Unfold and then fold the outer edges toward the center. Fold in half along crease, then top stitch 1/8″ from each edge. Position the handles 2 1/2″ from each edge.
 Fold binding strip in half, lengthwise, and press. Sew to the top edge of the bag with the folded edge down. Use your favorite method to join binding (I love this tutorial – scroll to “Joining Your Binding”!).
 Fold the binding around to the inside of the bag and top stitch close to the edge of the binding, stitching the binding in place on the back. When you come to a handle, fold the handle up and stitch through the handle and binding.
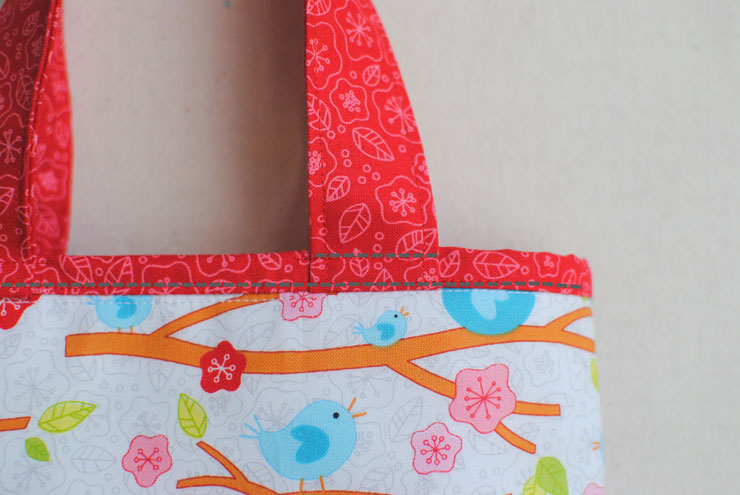 Top stitch handle 1/8″ from top edge too, and you’re done!
 We’re not at quilt market this time around, instead we’re celebrating a cute little girl’s first birthday (how has it gone so fast!). Hope you have a great weekend!

I love your model. 🙂 This is a super cute colorful bag! She looks like she definitely likes it!
Sofia and I have just picked out the fabrics to make her and James a bag each. Big birthday hugs to Lydia 🙂
Super cute tote bag! Your model is adorable too! 😉
Oh I love the tote bag. Sooo cute! I want one.
Nice post. I was checking constantly this blog and I’m impressed!
Very useful info particularly the last part 🙂 I care for such info a lot.
I was seeking this particular info for a long time. Thank you and good luck.