
Louisa Bag: WIP
Hello! I am giving you a preview of my Louisa bag and the progress I have made so far. (If you would like to purchase this pattern or any of our other patterns, visit our shop here.) I hope you have had a great start to the week!!
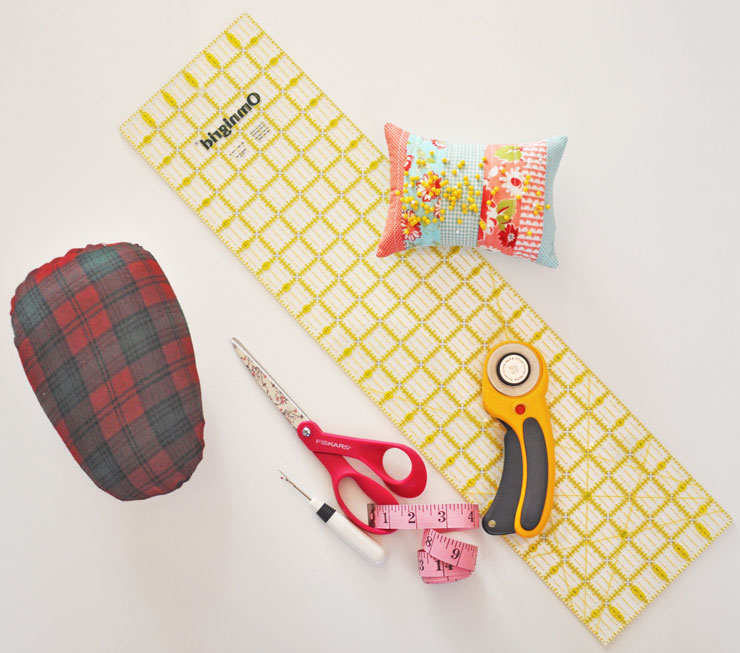 These are the tools that I use when I am making a bag. I just got the tailors pressing ham yesterday and have found that I love it! I looked it up and found there is a tutorial for making your own if you don’t want to purchase one. Google tailors pressing ham and I am sure you will find one or more on the internet. It only costed about $15.00, which is not that much considering there are many other times I wish I had one. What I had been using was the rounded end of my ironing board and it did a fairly good job, but I think I am going to love this extra tool!!
I use a 24″ ruler, nice and long for cutting those longer lengths of fabric, interfacing and flannel. Rotary cutter, a cloth tape measure, (nice for measuring around the bag for adding the gusset and such). Then scissors, seam ripper, and a pincushion for all the pins I use in construction. The pins with the yellow heads are sturdier for those thicker layers. I find the thinner pins bend too easily, so I will save them for quilting and sewing. Of course not shown are my sewing machine and iron! Couldn’t do it with out them!!
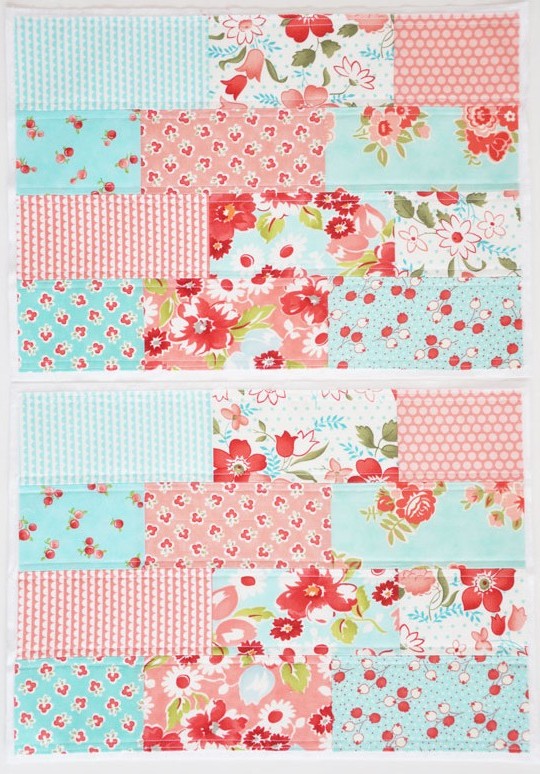 These are the two panels I started with, I showed them last week but thought it would be okay to see it from the start again.
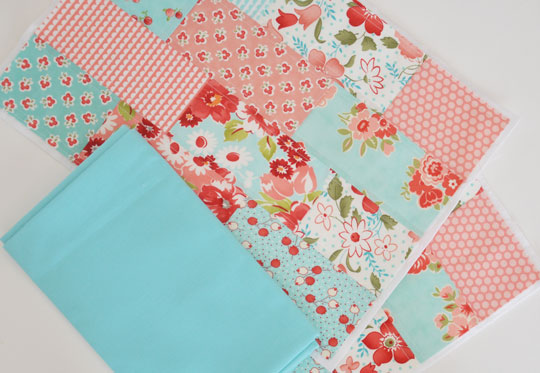 This is the fabric I chose for the gusset, handles, binding, ties and maybe the lining.
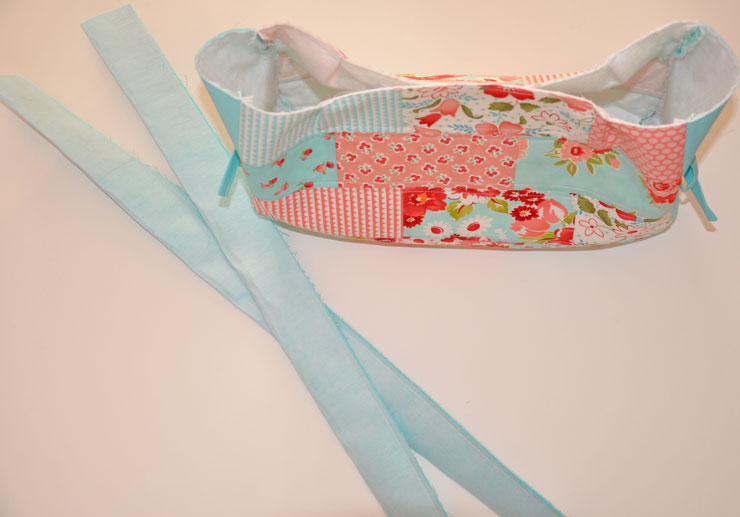
 This is after the gusset and ties are sewn on, it’s looking like a bag now.
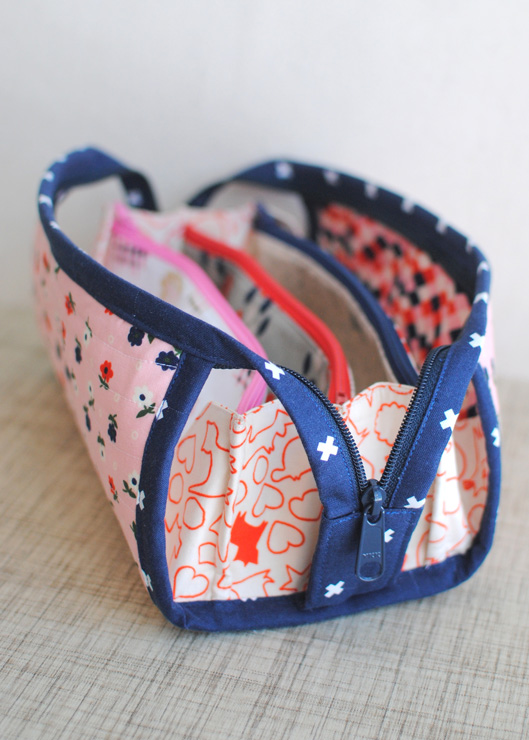
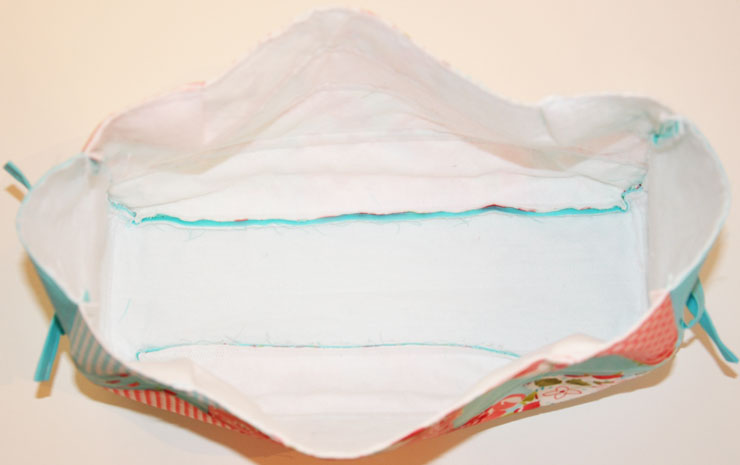 An inside view. We will be sharing the reason we use flannel for our bags and the type of interfacing we love. Just waiting for some supplies so we can go into more detail.
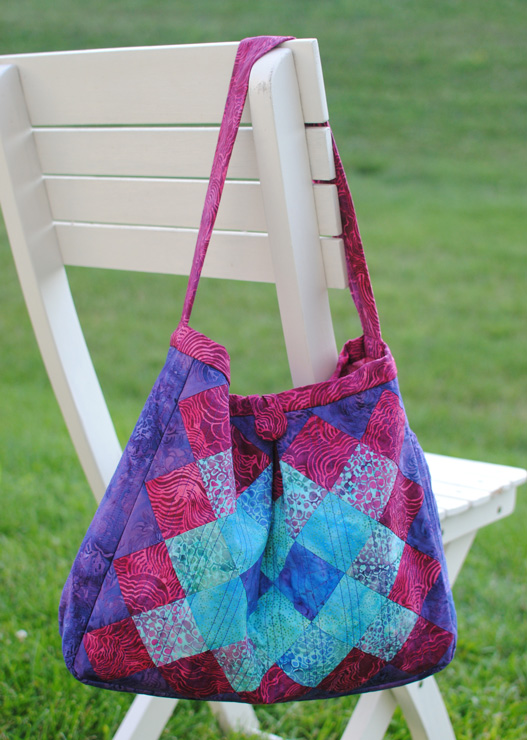
 Lastly I have body of my bag and the interfaced handles sewn and just need to be finished up. I am excited about this bag because I love the size of it and the fabric, yes some of my favorites.
Just a quick view of how my Louisa bag is coming along. There is a Louisa Bag tour on instagram. If you would like to see lots more Louisa bags in the process of being made, search the #Louisabag, or #cloverandviolet, you will find more. Some completely finished and some just getting started. I have been enjoying seeing them all!! These ladies are doing an amazing job.
This bag is looking good. It’s very helpful when you have all the tools of the trade ready at hand.
Thank you! I am liking it!!
It’s turning out so cute!