
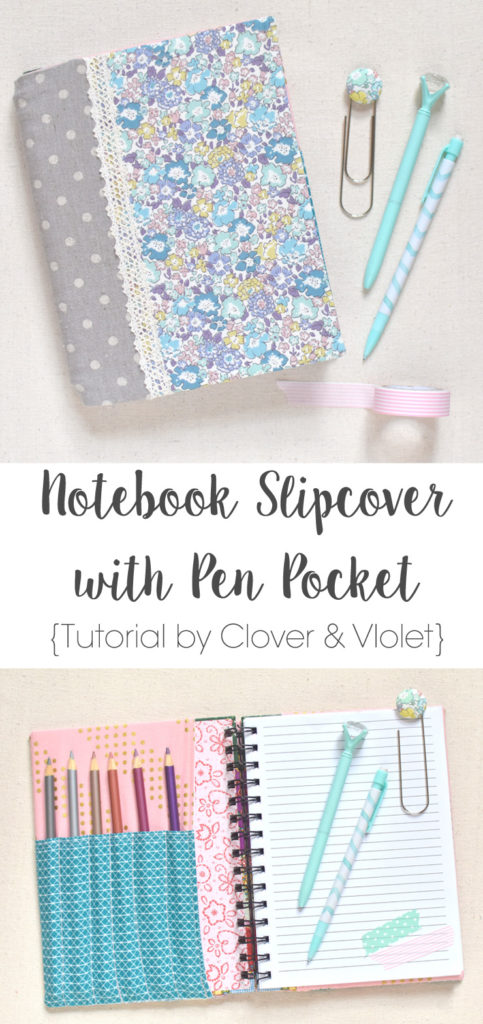
Notebook Slipcover with Pen Pocket {Tutorial}

I love notebooks, I always seem to have tons around, but sometimes the covers aren’t my favorite, or my style changes, so today I’m going to share a fabric notebook cover to transform any notebook with a fresh, new cover.
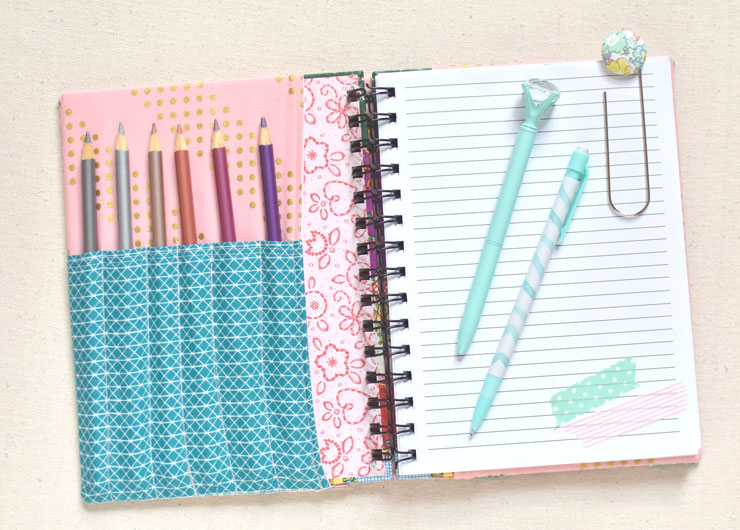 And, because we need a place to store our writing or drawing supplies, this cover has some pen pockets as well. Let’s get started. Choose your favorite notebook and fill out the worksheet for cutting requirements.
Here’s what mine looks like:
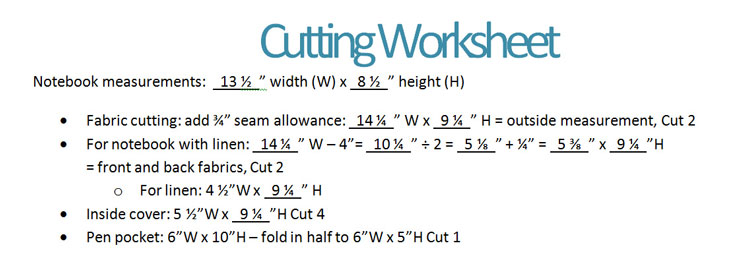
Note: All seam allowances are 1/4″. Read all directions before beginning.
After you’ve filled out the worksheet and cut your pieces, let’s get sewing.
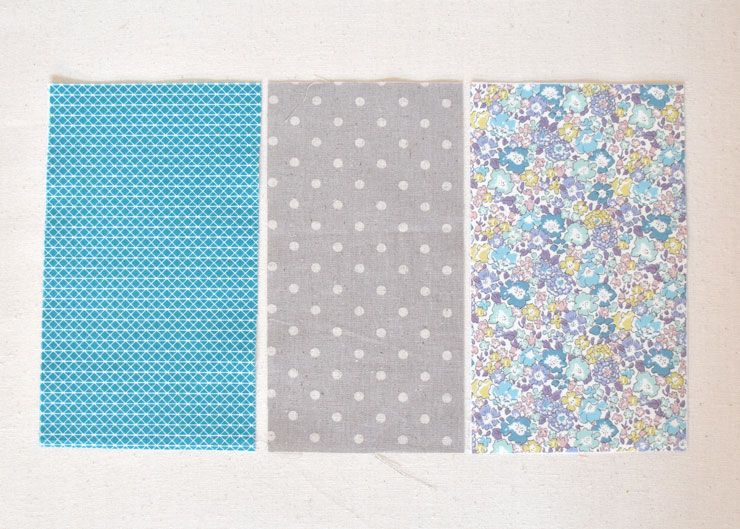
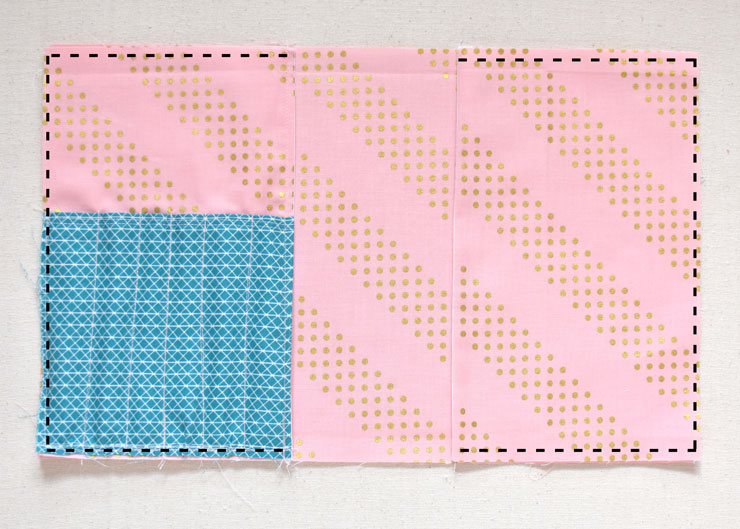
If making the outer panel with linen, arrange the pieces as desired. Note, since I was using a lightweight Liberty Tana Lawn fabric for my front portion, I used a woven interfacing to make it more sturdy, this is optional.
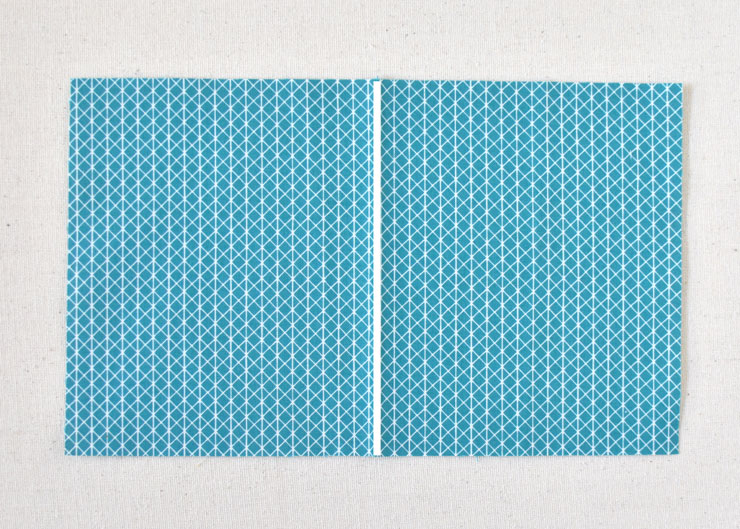
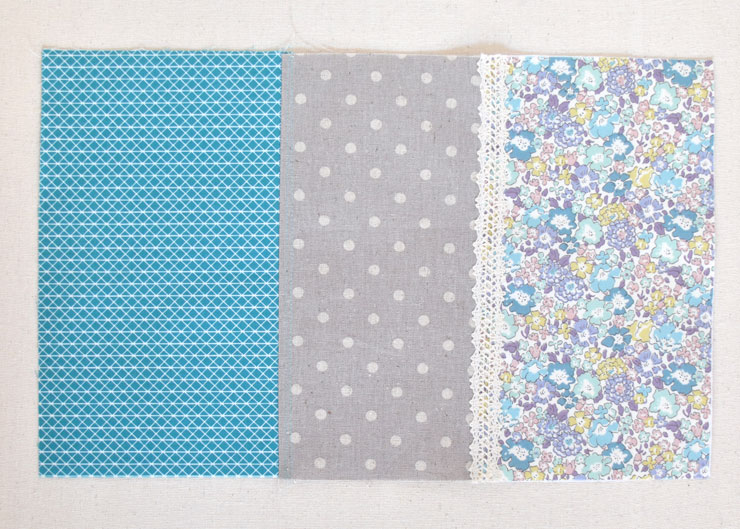 Sew the three pieces together to make the outer cover. I added top stitching and a bit of crochet lace, and you could add other embellishments if you choose. Set the cover aside.
 Fold the pocket piece in half lengthwise, so it measures 6″ wide x 5″ high.
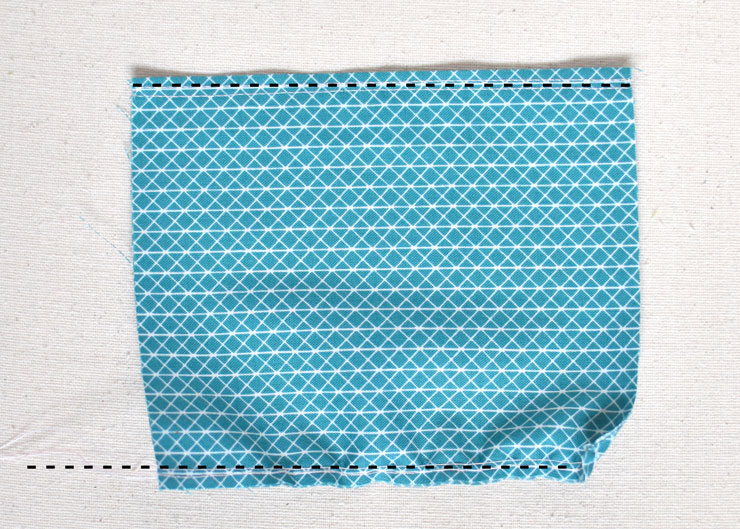 Top stitch along the fold (I stitched two lines), then, set your sewing machine to the longest stitch length and sew a long line of gathers, fixing it on the right edge. We will gather this pocket so it has some space for the pens.
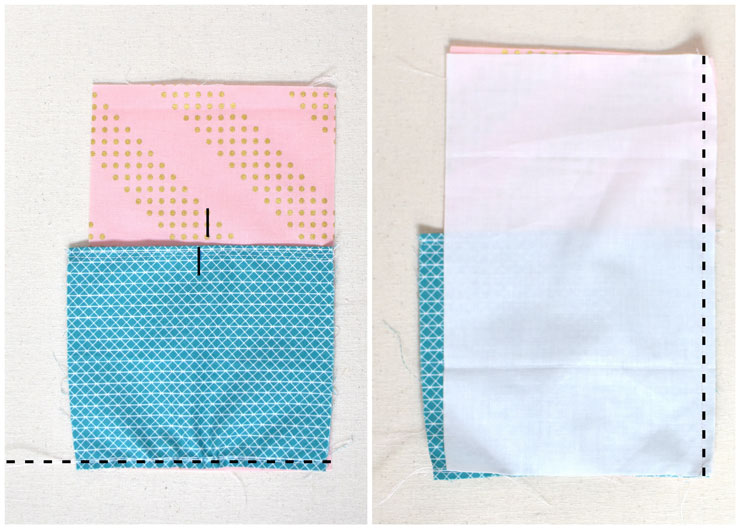 Mark the center of the inside panel and the center of the pocket, we will use these marks to gather the pocket evenly. Then place another inside panel, right sides together with the first and stitch along the RIGHT edge.
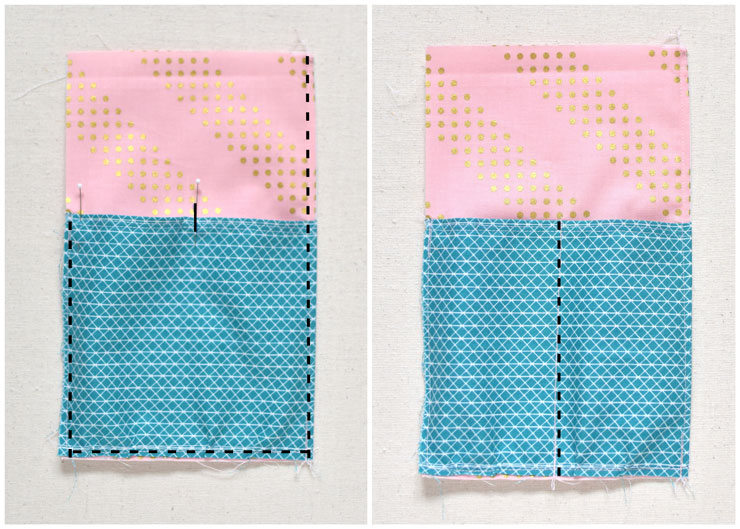
Fold the panels wrong sides together and top stitch along the edge. Match the center marks on the pocket and inside panel, pin in place. Stitch the left edge of the pocket in line with the left edge of the panel. Adjust the gathers along the bottom as necessary, then stitch along the bottom to secure pocket in place. Next, stitch down the center of the pocket.
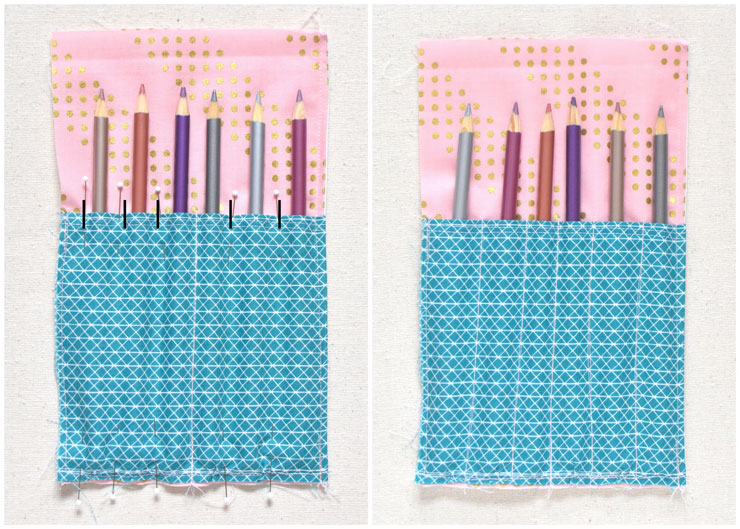
To adjust the pocket widths, I placed the pencils inside the pockets, spaced them out and pinned between them. As another option, you could measure out the pocket spaces and sew accordingly. Then I used the pins as guides and sewed the long lines. Next (not shown) sew the left edge of the two back panels, right sides together, and turn right side out, just like for the front pocket panel, but skipping the pocket (or, you could add a pocket too, if desired).
Place the two side panels on the inside fabric cover. Sew the panels in place.
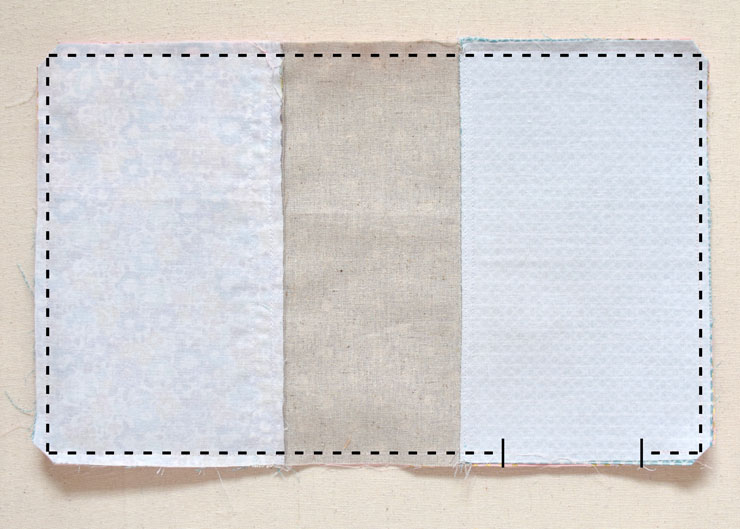
Place the outside cover right sides together with the inside cover and panels. Sew around the sides leaving a 3″ opening on the bottom right edge. Clip the corners near, but not into, the stitching lines. Turn right sides out. After turning right side out I slipped my cover on my notebook before hand sewing the opening closed. Since it can be difficult (for me at least) to get the hand sewn portion exactly like the machine, I wanted to make sure I didn’t stitch my opening tighter than the rest of the cover.
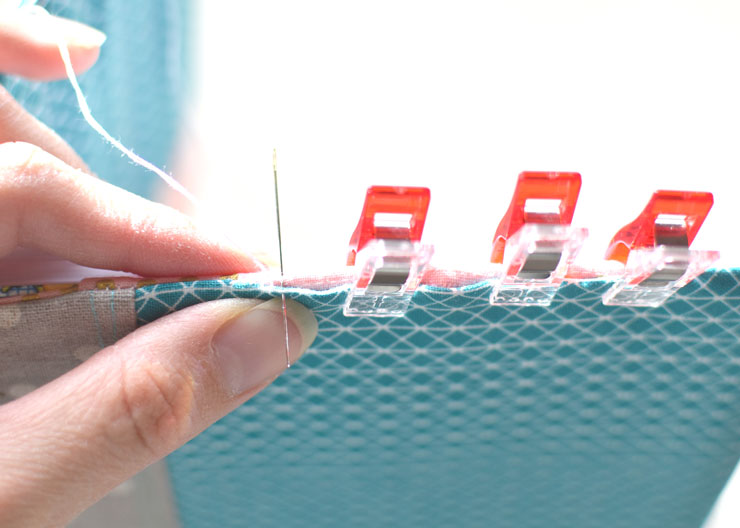
I used Clover Wonder Clips to hold the opening closed while I whip stitched the opening closed. And then the slipcover is finished!
Want to save it for later? Here’s a Pinterst friendly image:
I love this idea Jennie! Having the pens or pencils close by is so convenient! Your instructions are very clear! You make this sound very do-able! Thank you!
These would make lovely Christmas presents! Thanks for the tutorial!
Super handy, and I love that it’s so adjustable!
So pretty! Thanks for sharing 🙂
Thank you for this tutorial. I can purchase a notebook and personalise it with a cover to be given away as a gift. 🙂
Calculating pocket width isn’t necessary as it’s based on the inside cover width.
Regardless of how wide your note book is, the inside cover width is cut to be 5.5″ wide. So, the 6″ wide pocket is gathered to the 5.5″ inside cover. With this pattern, the width of your notebook affects the uncovered space between the center of your notebook and the edge of the interior pocket.