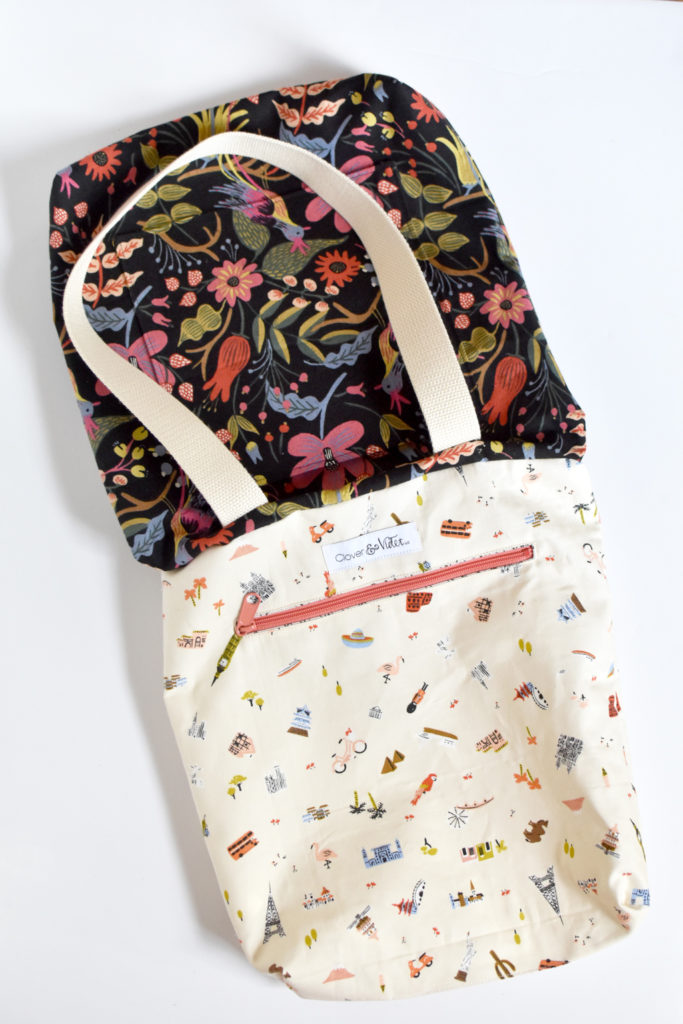
Canvas Clara Cork Tote Tutorial
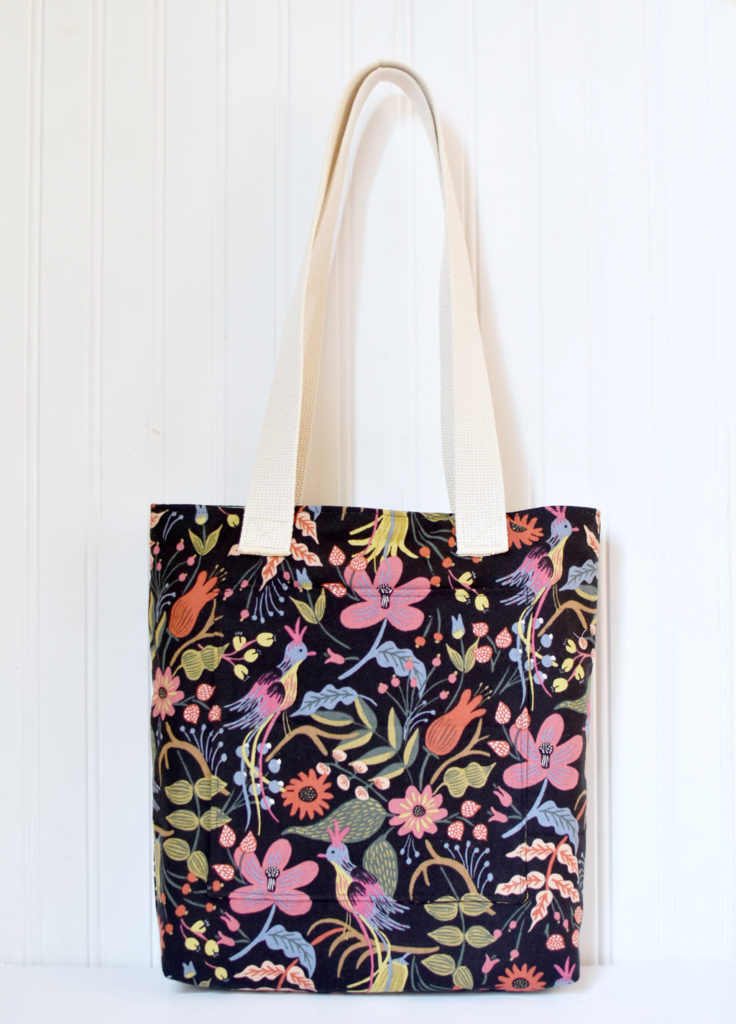
After making several cork totes using my Clara Cork Tote pattern, I thought I’d make one in canvas and see how it turned out, I’m really happy with the finished result! Since the pattern is designed for cork, there are a few modifications, but I thought you might enjoy making one too! Let’s get started.
- Cut your canvas bag outer the same as the lining measurements, not the cork! Then, continue making your bag as directed in the pattern until you get to the last step. Note: I used webbing for the handles and sewed them on the same way as the cork in the pattern, but you could certainly make your own handles.
- In the last step, assemble the canvas as for the cork, then use the following directions to finish your bag. Assemble the lining as for the bag body, but leave a 4″ opening in the bottom of the lining through which to turn your bag.
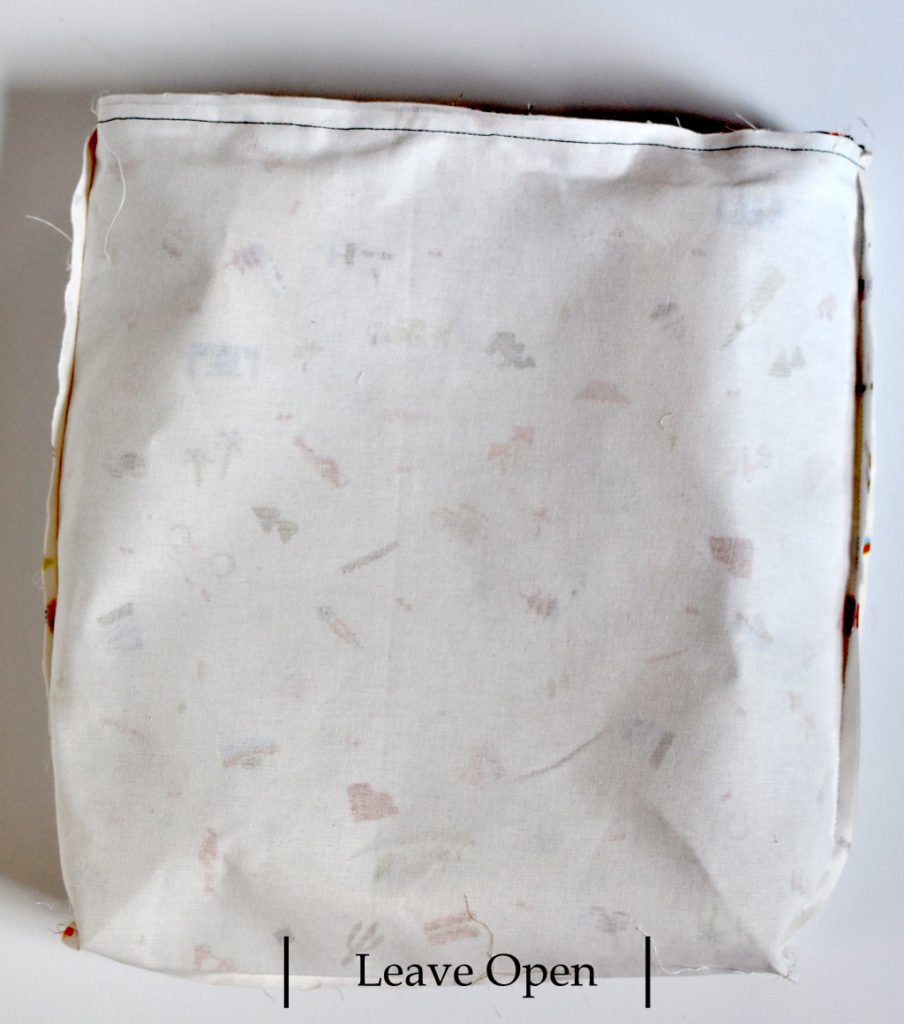
3. Place the canvas bag inside the lining, right sides together and sew around the top of the bag 1/2″ from the edge.
4. Turn the bag right sides out through the opening in the lining.
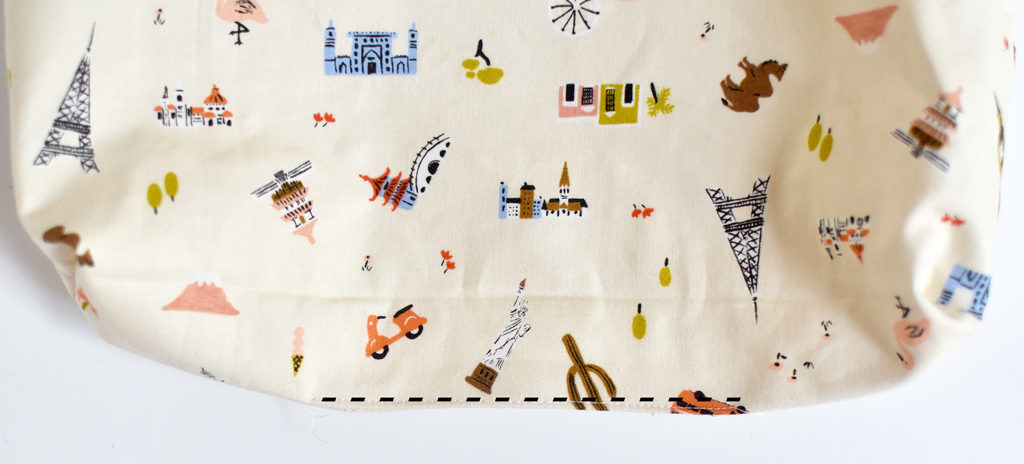
5. Sew the opening closed. Tuck the lining inside the bag and top stitch around the top of the bag body as in the pattern. And you’re done!

Aside from the directions here, I didn’t change anything about the bag or construction. I had 1/2 yard of this canvas print and it was plenty to make the bag and the outer pocket as well. If you make a canvas (or cork) Clara tote I’d love to see it! Either share it here or tag me on social media @cloverandviolet #cloverandvioletpatterns and #claracorktote ! Happy Sewing!