
Learn to Foundation Paper Piece + Mini Needle Book Pattern
Hello friends! I recently took a survey of newsletter subscribers and one thing a lot of people wanted to learn from me is Foundation Paper Piecing (FPP). If you’ve never done FPP, it’s a little backwards from the way we quilt, instead of cutting pieces before you sew them together, you sew the pieces to paper and then trim! Watch the video here:
WHY FOUNDATION PAPER PIECING?
I love Foundation Paper Piecing for its accurate points and the ability to create unique and tiny designs that would be more challenging to traditionally piece. I often use a small element of FPP in projects I make, but was surprised that many of my friends had never tried it and didn’t know where to start. I’ve created a fun, Mini Needle Book pattern featuring a new FPP cover option, that I designed just for you!
GETTING STARTED WITH FPP
Foundation Paper Piecing is where you sew the fabric to the paper that has a preprinted design on it. It’s a little bit mind-bending at first, or at least it was for me. So, here are a few things to remember when you’re getting started:
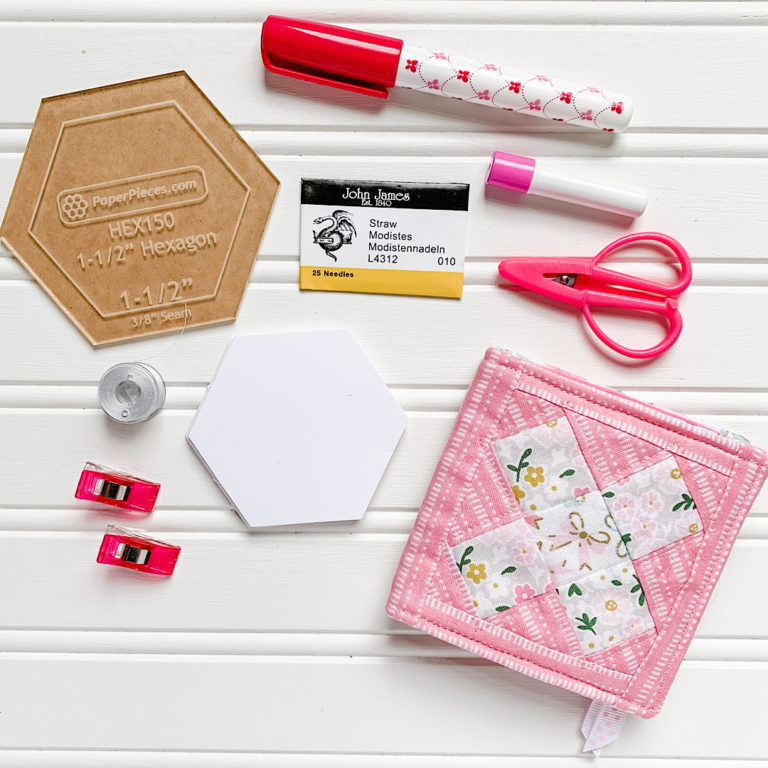
- Use lightweight/thin printer paper, this makes tearing the paper away easier.
- Set your sewing machine stitch length to a short stitch, like 1.5, to make the perforation close together.
- Make sure you’re printing at 100% or Actual Size and check scale before beginning.
- Use scraps that are larger than the piece you are covering by at least ¼”. I like to choose larger pieces so that I’m sure it will cover regardless of angle.
- Use a dry iron, steam will cause the paper to wrinkle.
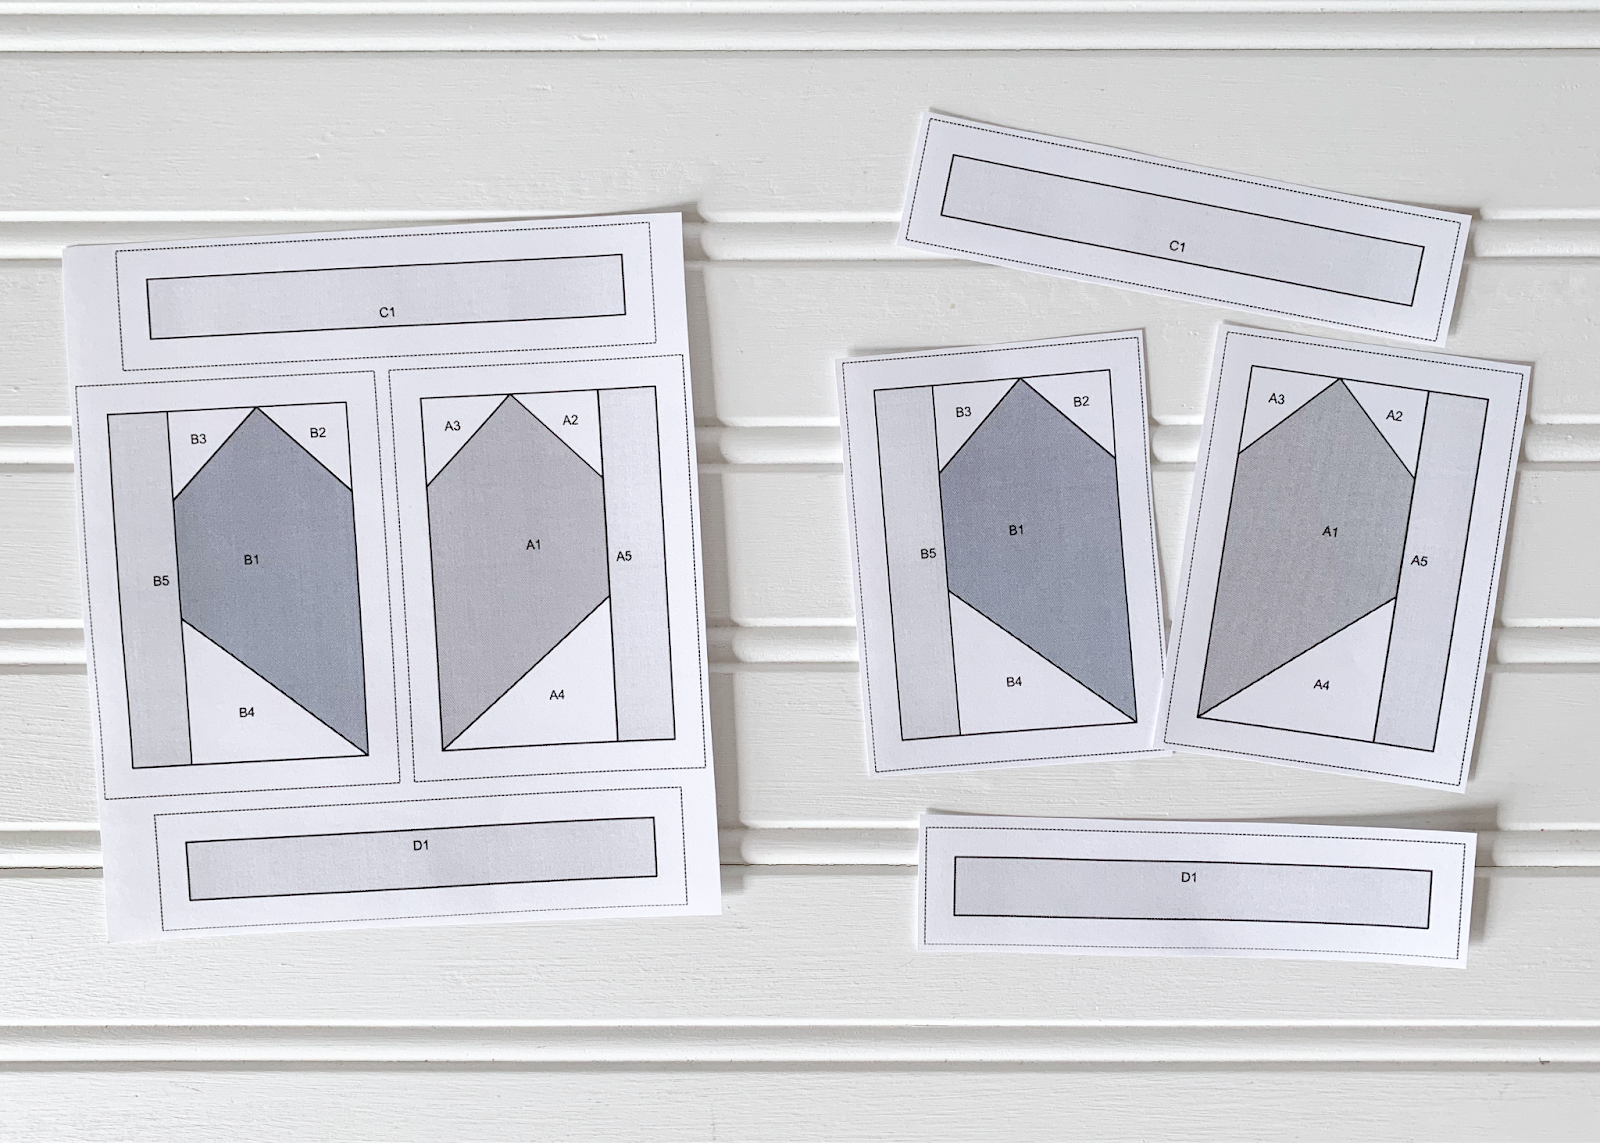
Keeping these things in mind, first you’ll print your pattern and then cut apart any segments. We’ll be using the heart from the Mini Needle Book, you’ll notice that there are A, B, C and D segments. We’re going to start with segment A.
SEWING THE FABRIC TO THE PAPERS
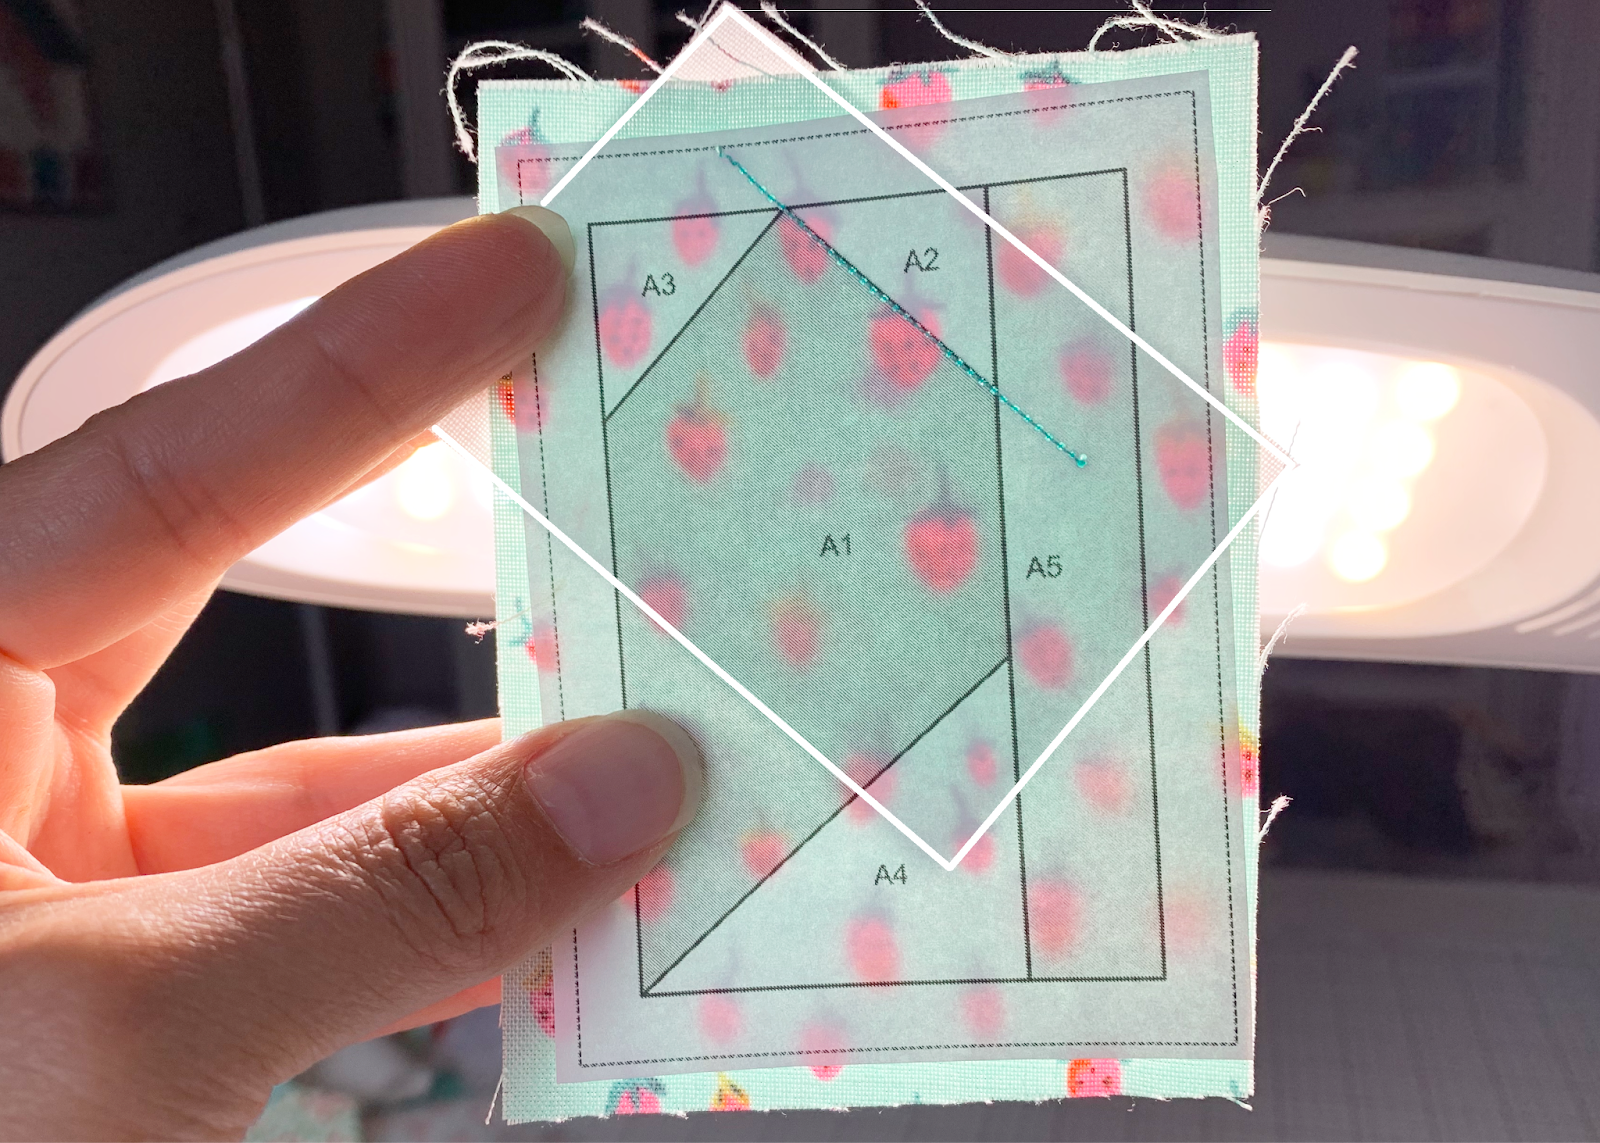
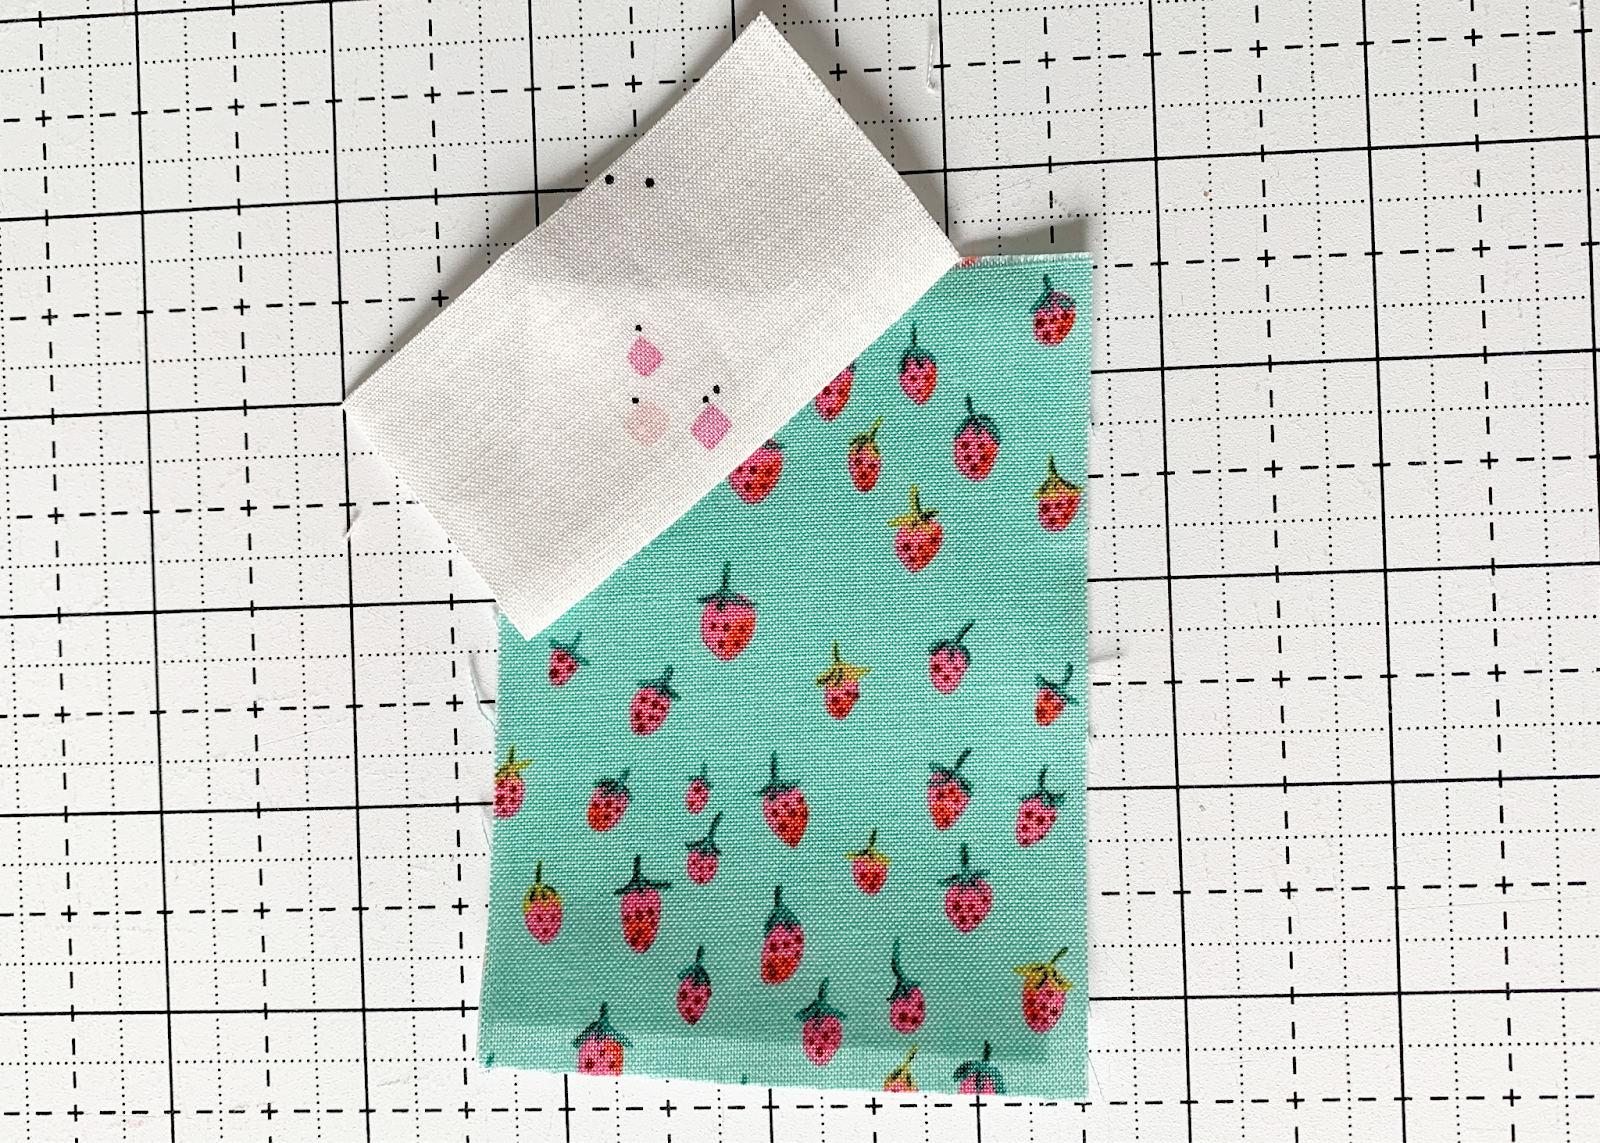
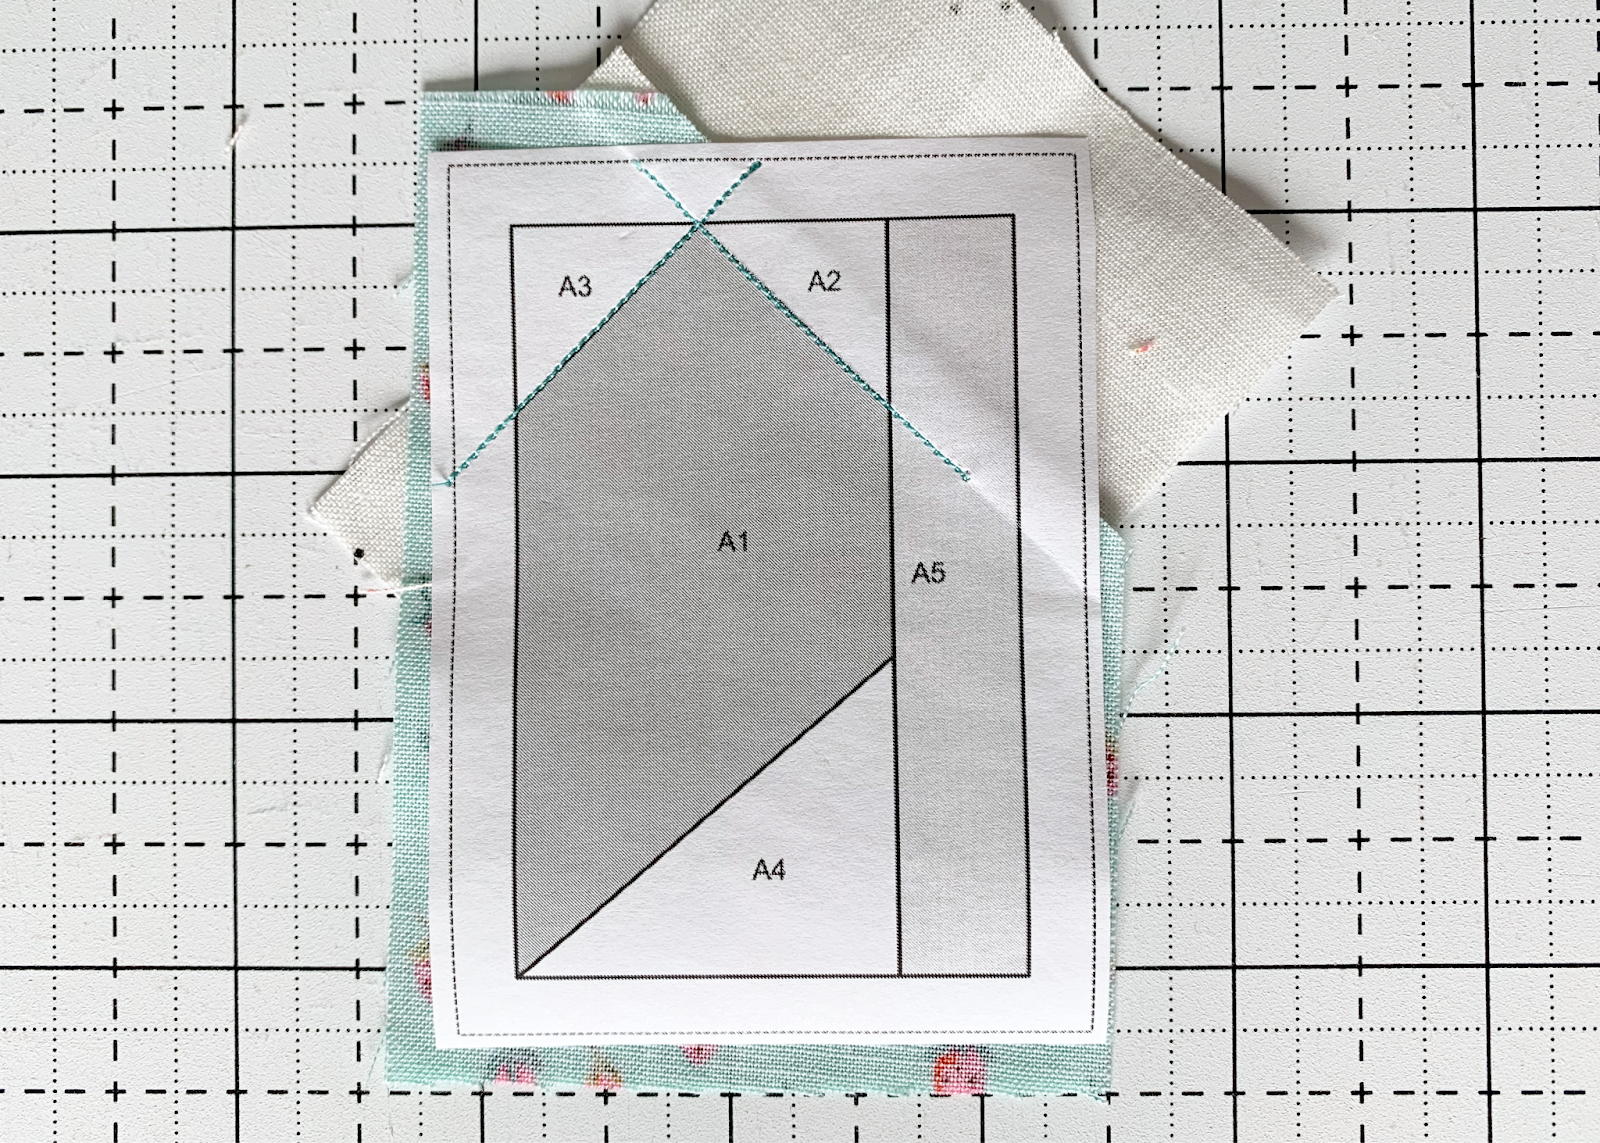
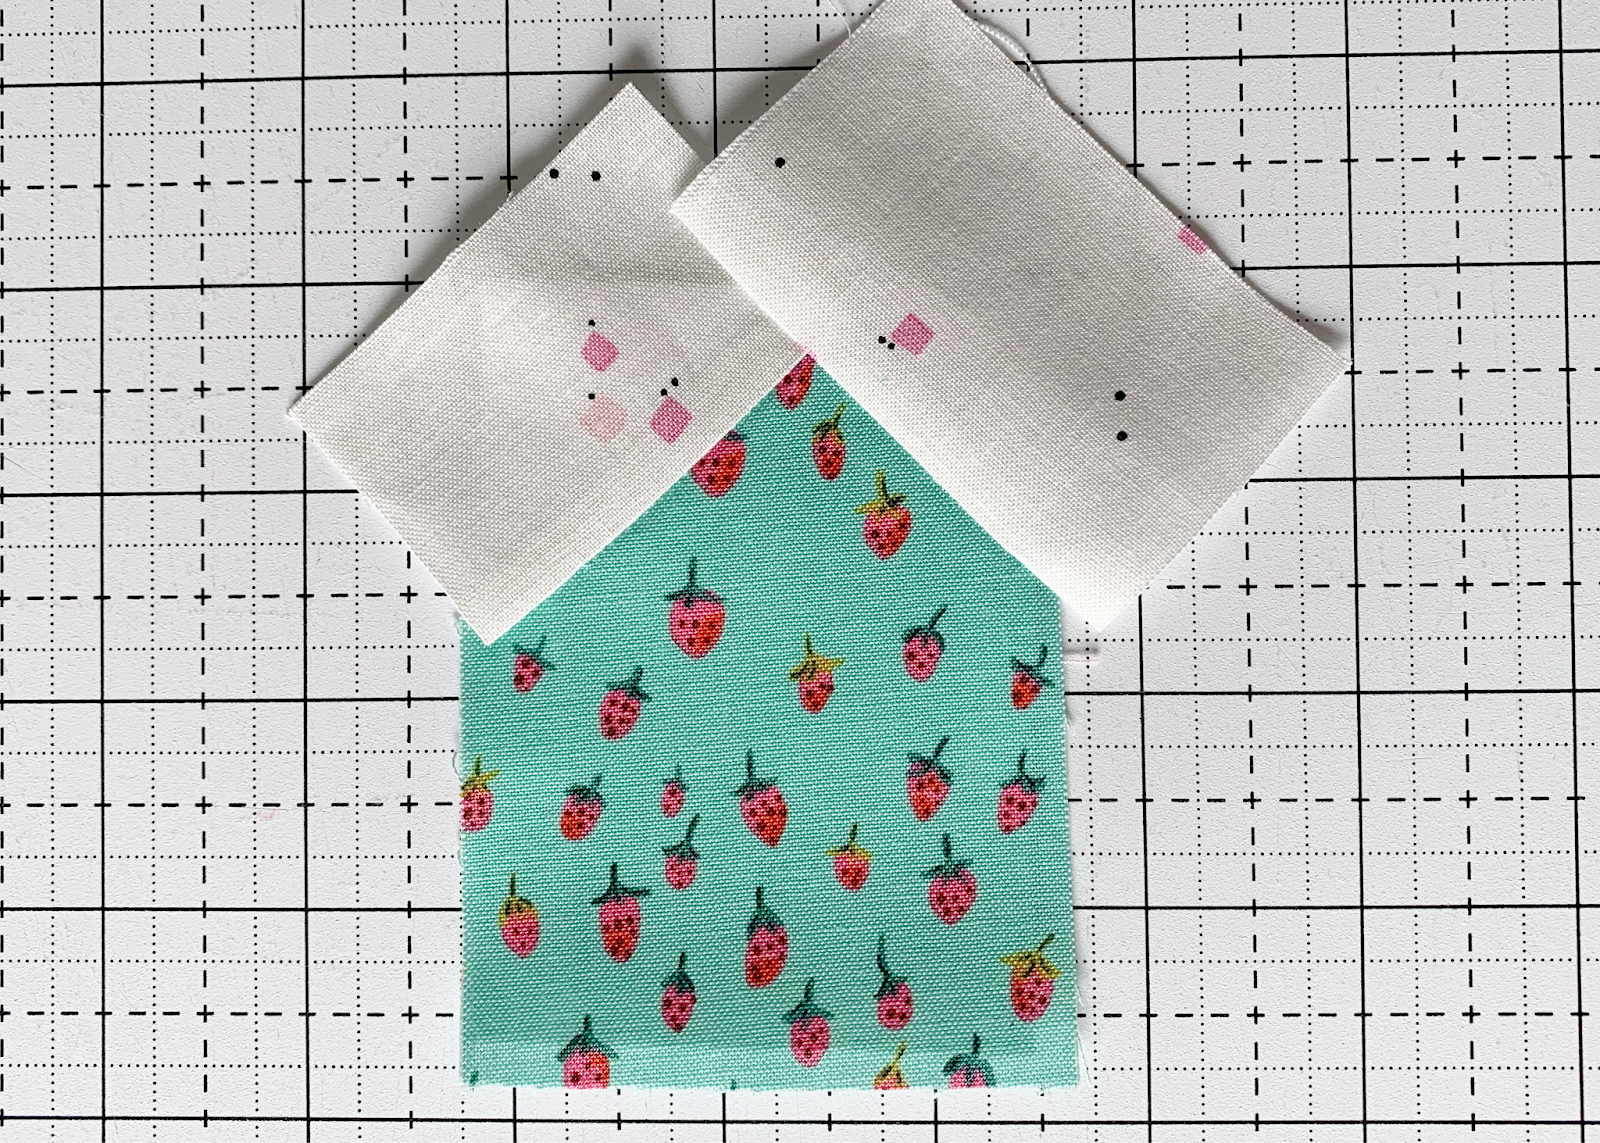
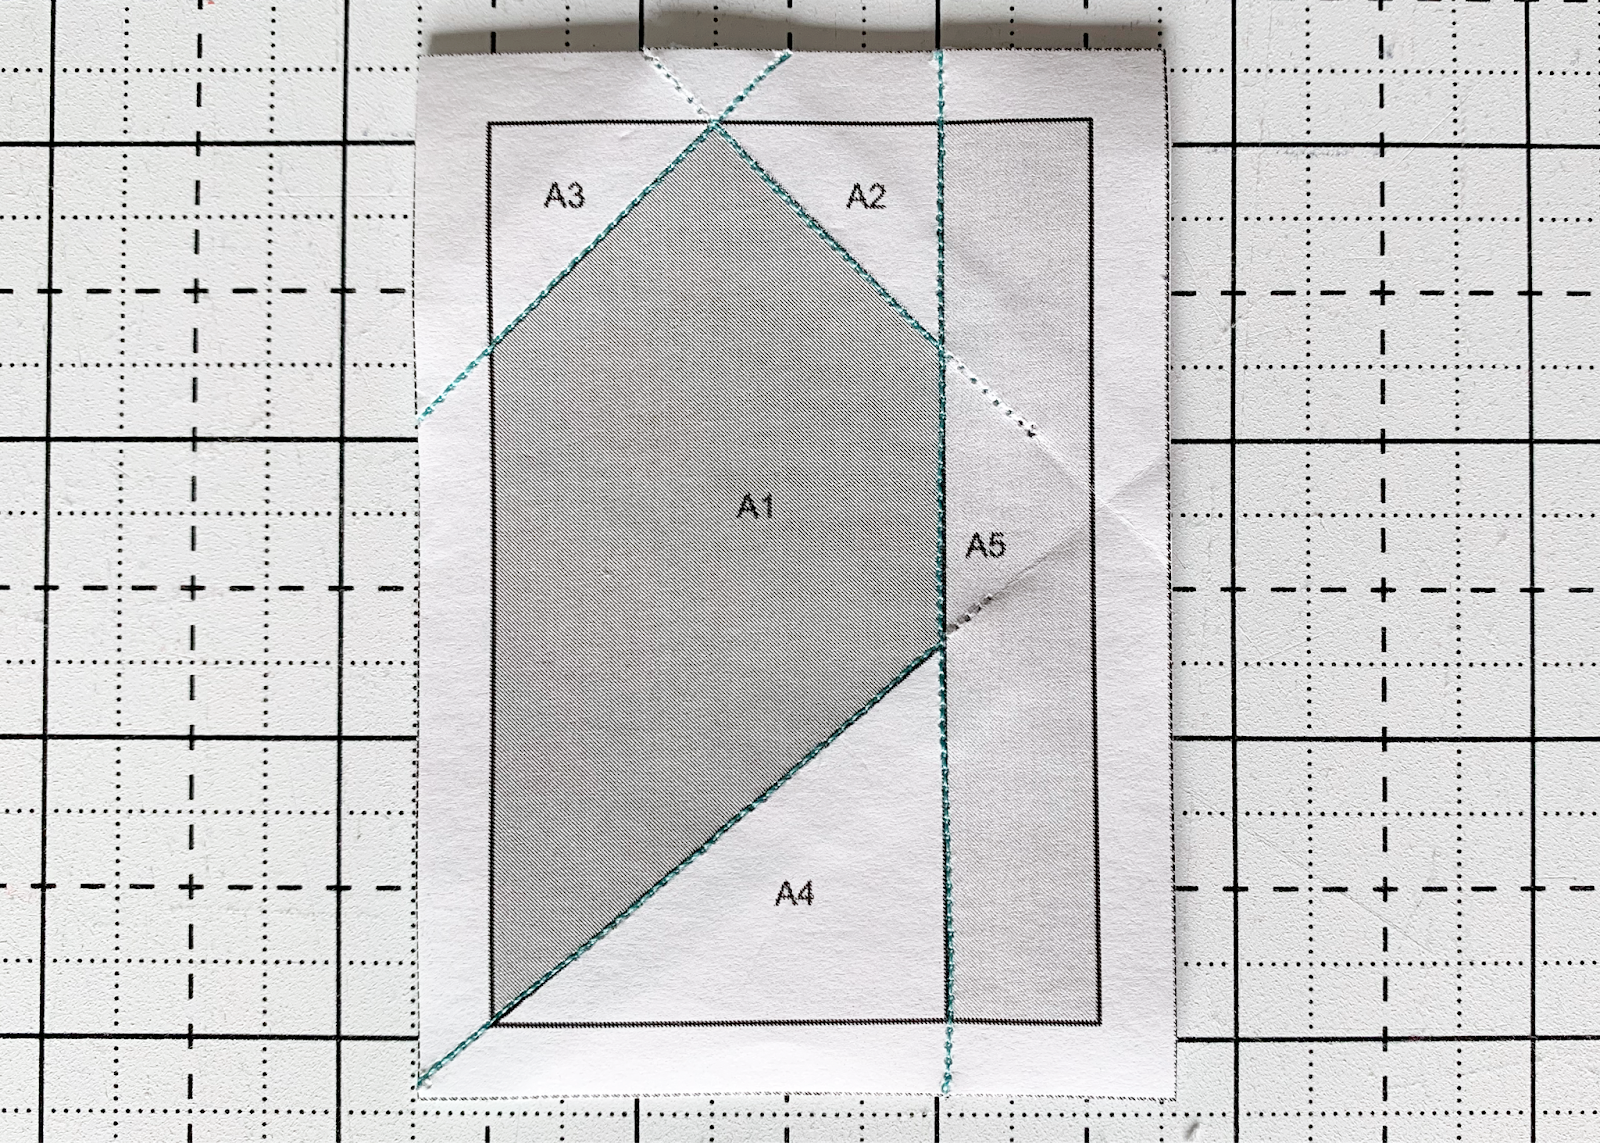
With FPP, the fabrics are placed on the back of the printed papers, and then you sew on the printed side. You’ll begin by placing your main heart piece on the back of the A piece, with the right side facing out. Then, for piece A2, position your piece right sides together with the main heart, overlapping the print by ¼”, the print is hard to see through the paper and the main fabric, but I’ve drawn a little box around it to help you see the fabric placement.
Then, sew along the line between the A1 piece and A2. I like my stitches to extend beyond the line by ¼” so they are nice and secure. I used a bold thread so you can see my stitching line.
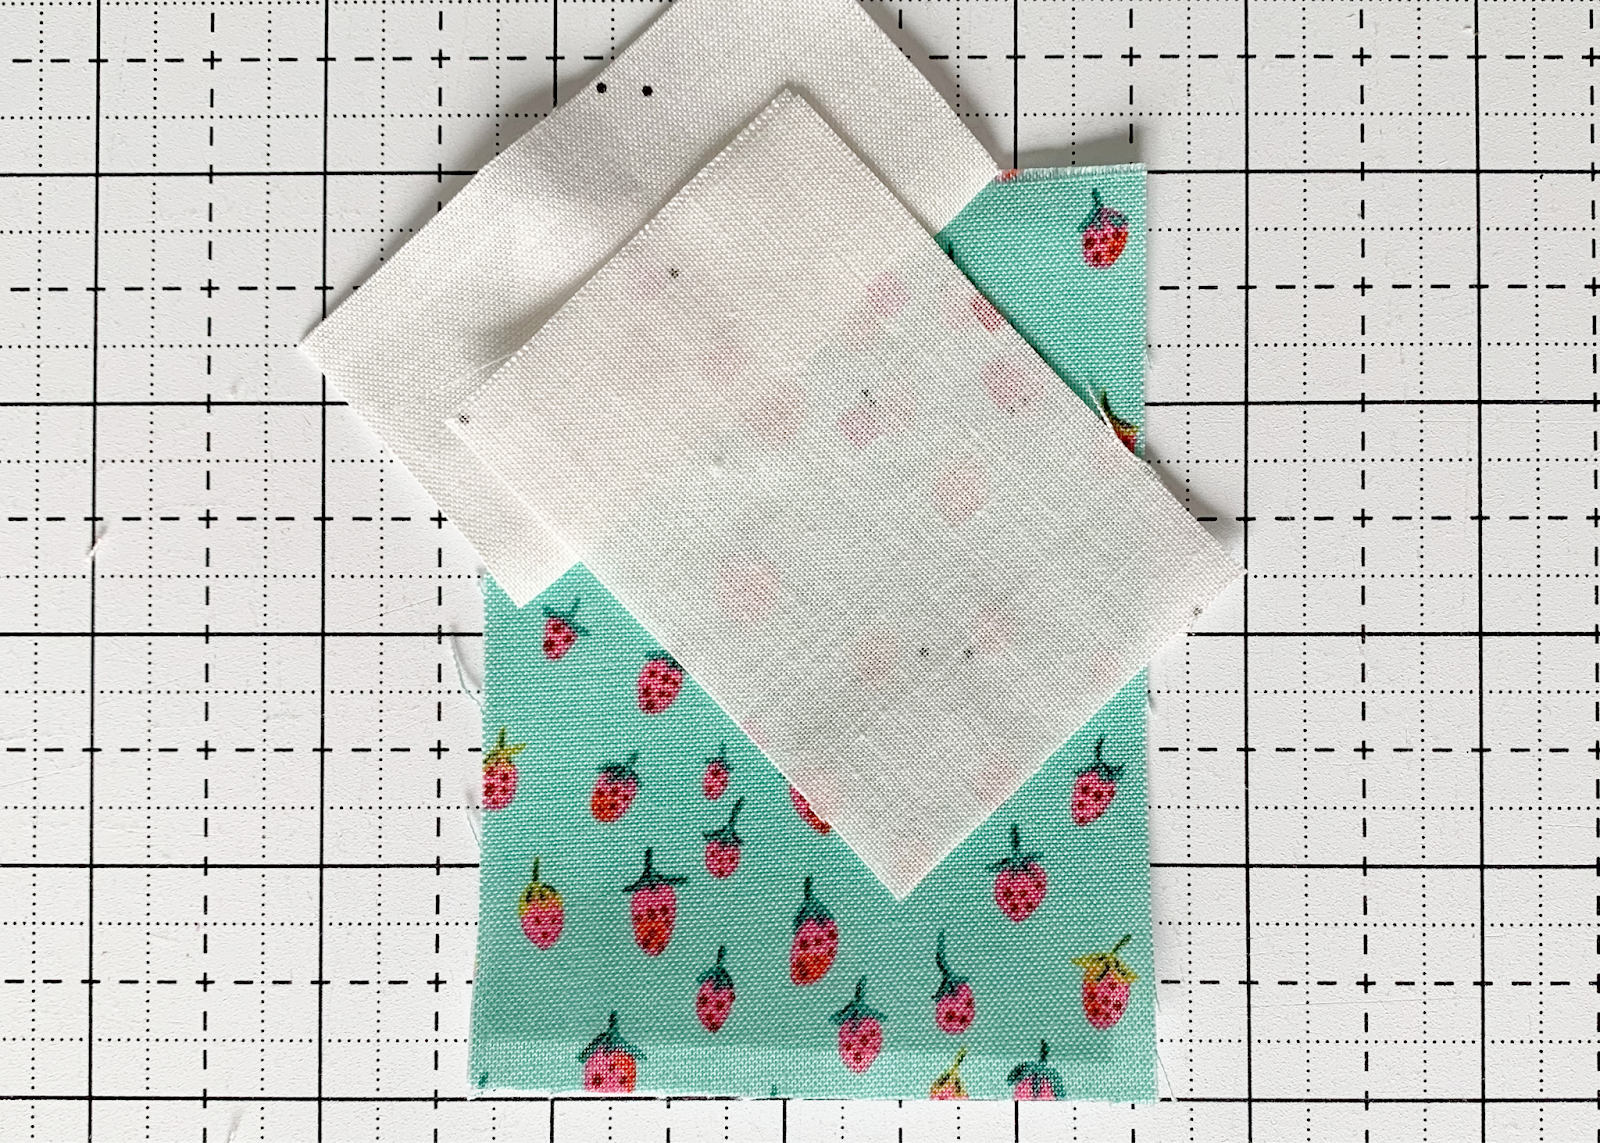
After sewing, fold along the sewn line, and trim away any excess fabric.
Unfold the paper corner, turn the block over, and press the A2 piece away from the A1 piece, this is what your newly sewn point will look like.
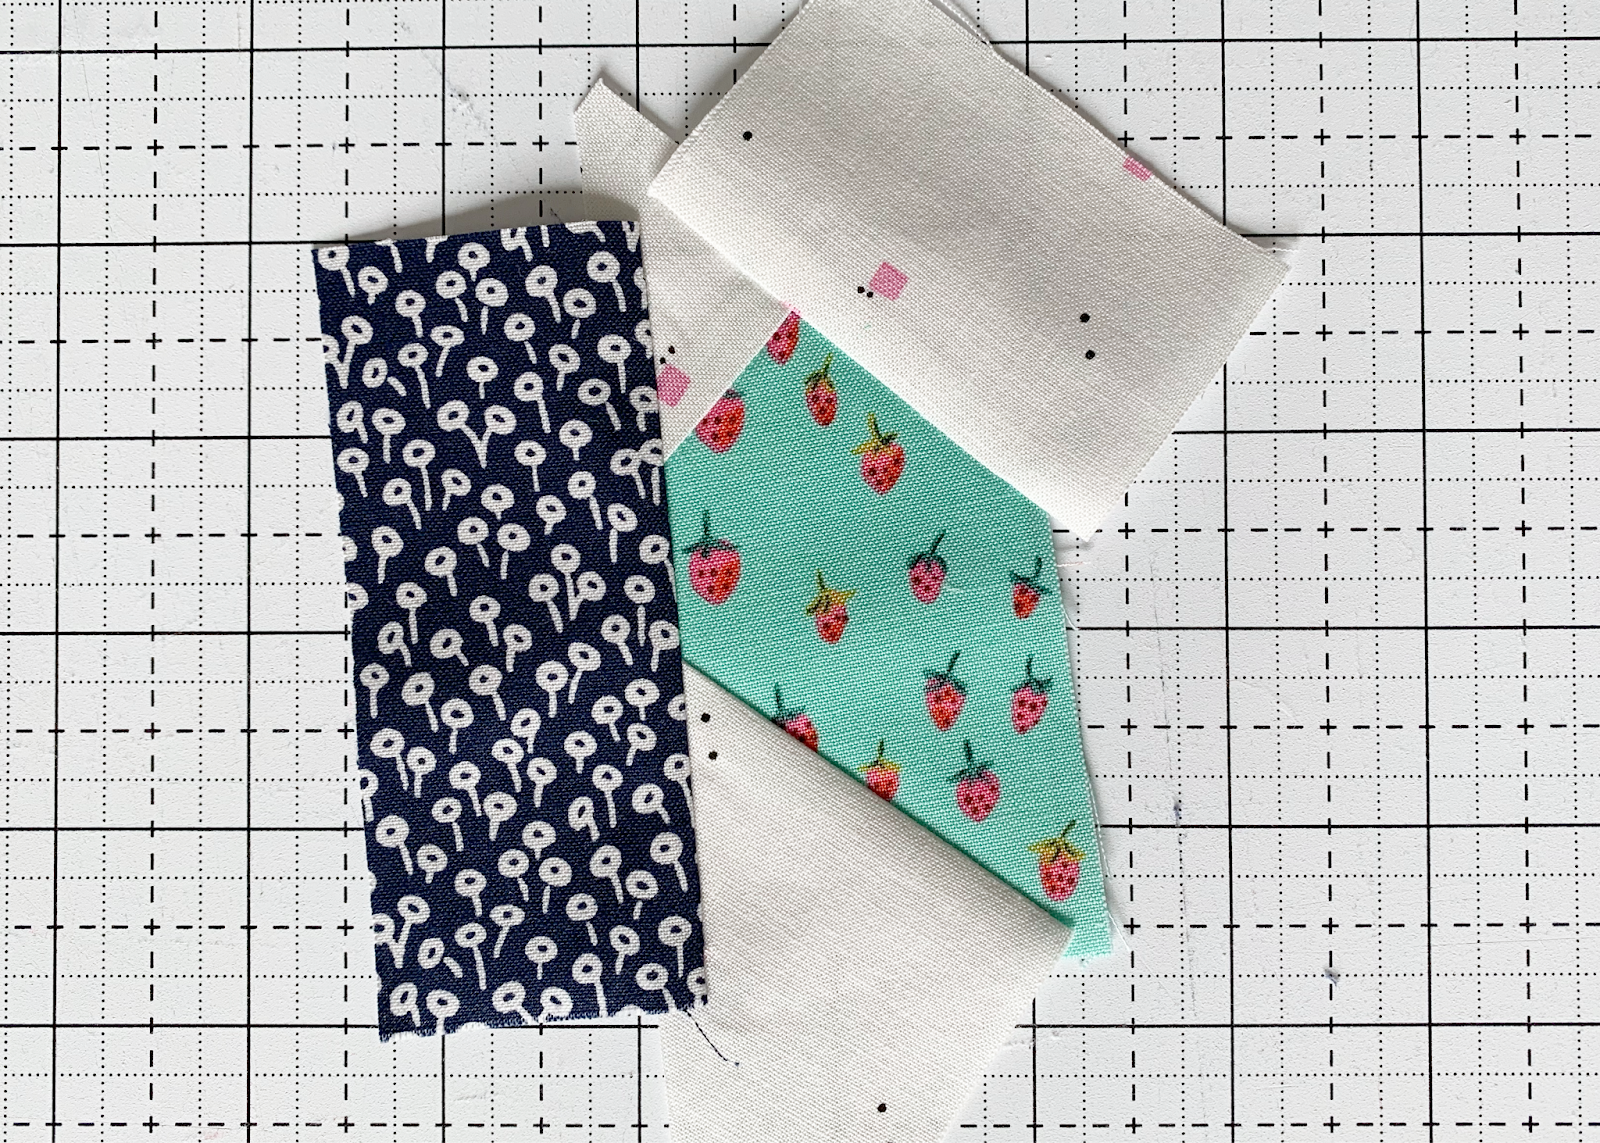
You’ll repeat this process with the A3 piece. Placing the right sides together with the already sewn pieces, remember to overlap the seam line by ¼” at least.
Then, turn the pieces over and sew from the back.
Fold back the paper and trim the excess, just like with the A2 piece.
Fold back the paper corner, turn over and press the A3 piece in place.
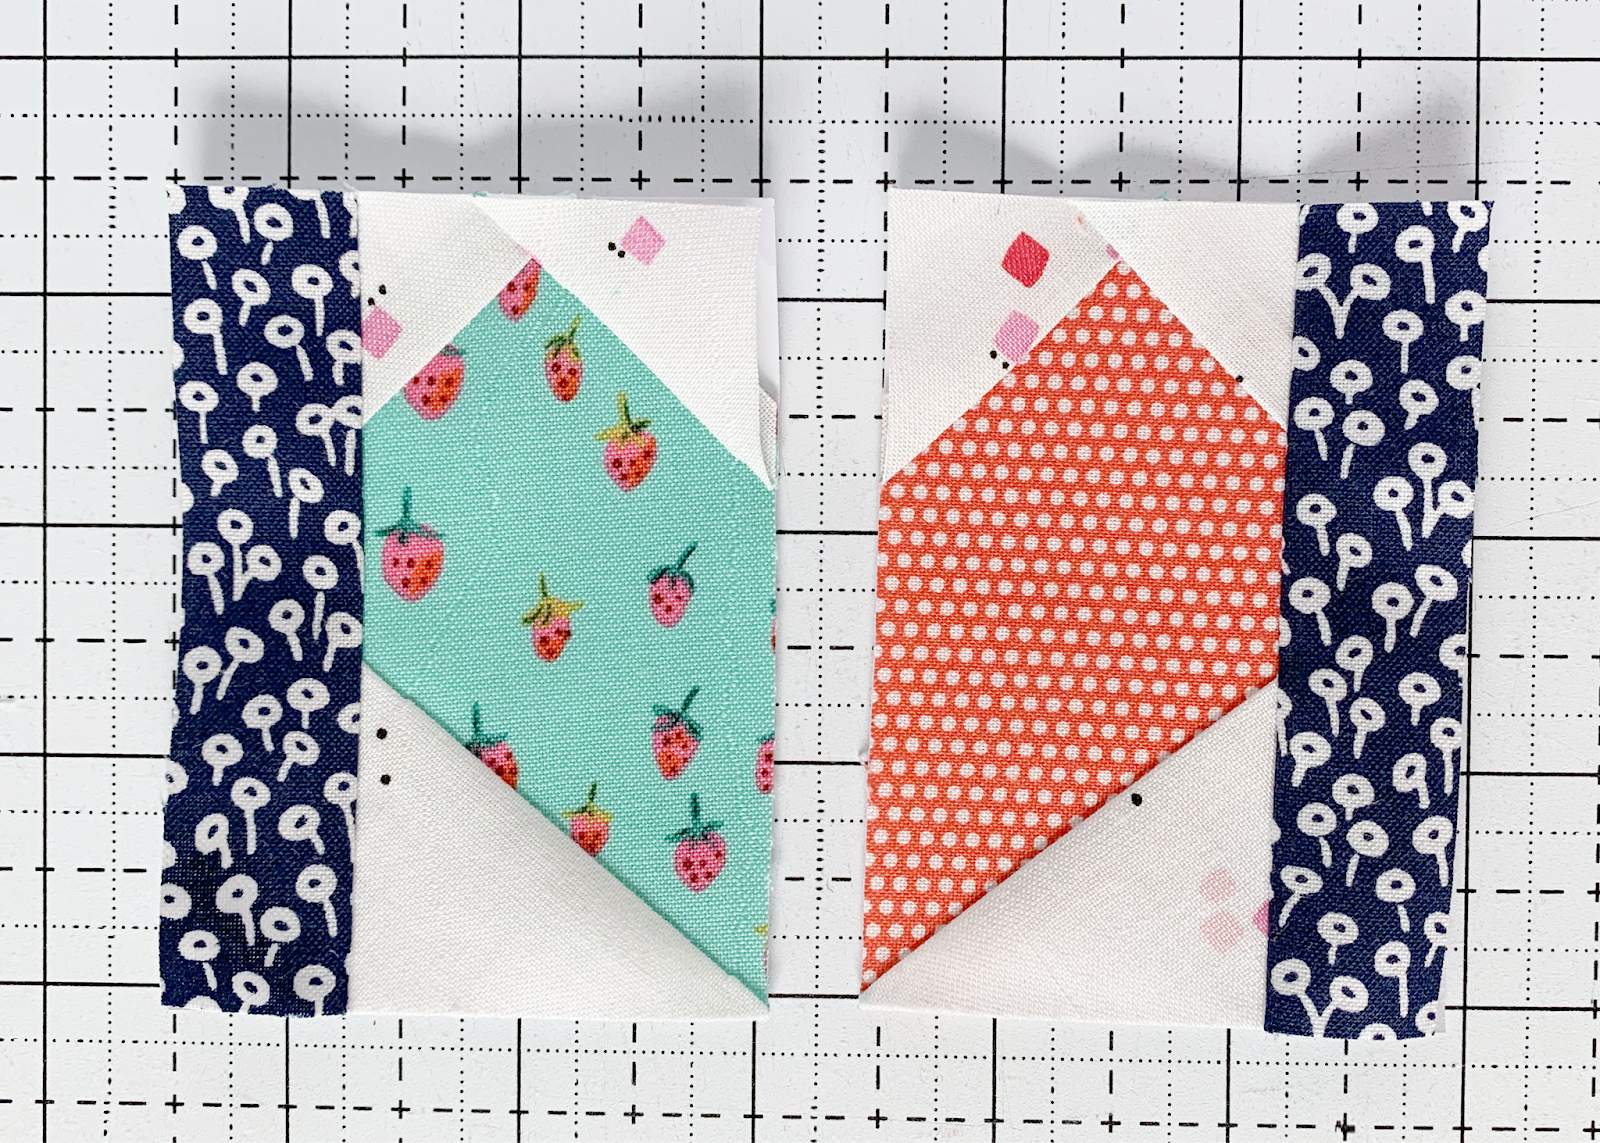
Continue adding pieces in the same manner to make the whole A segment.
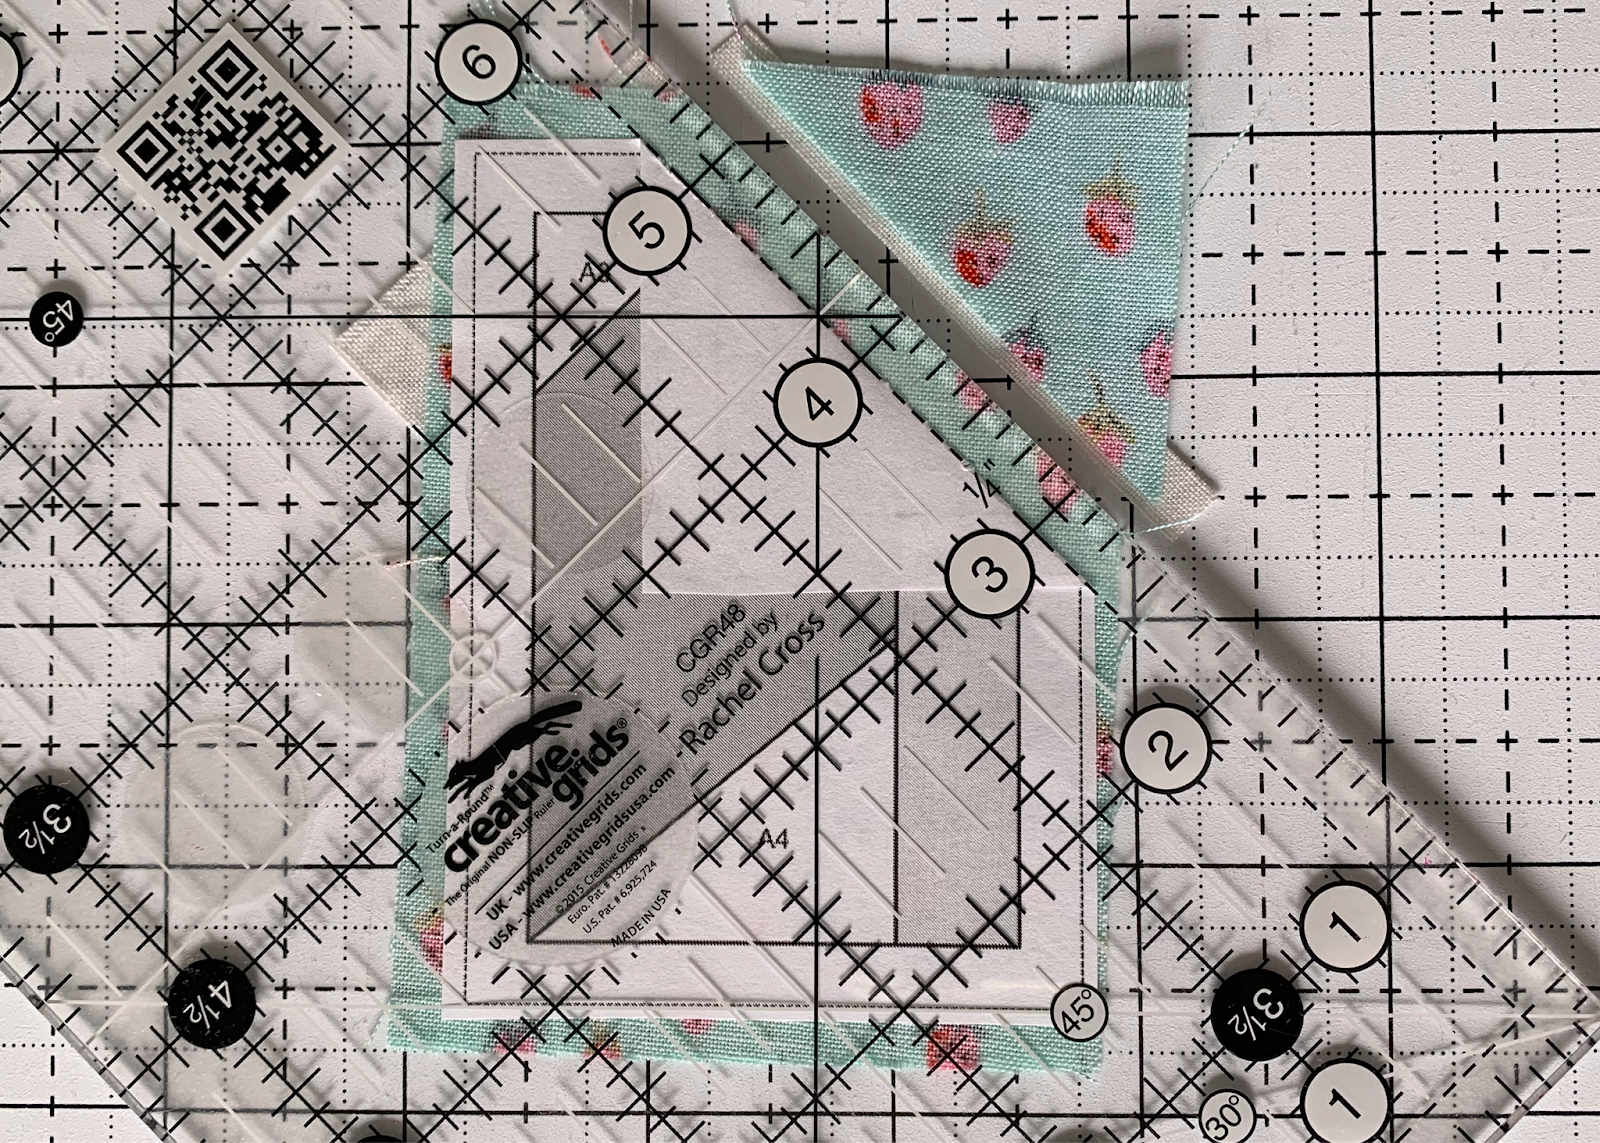
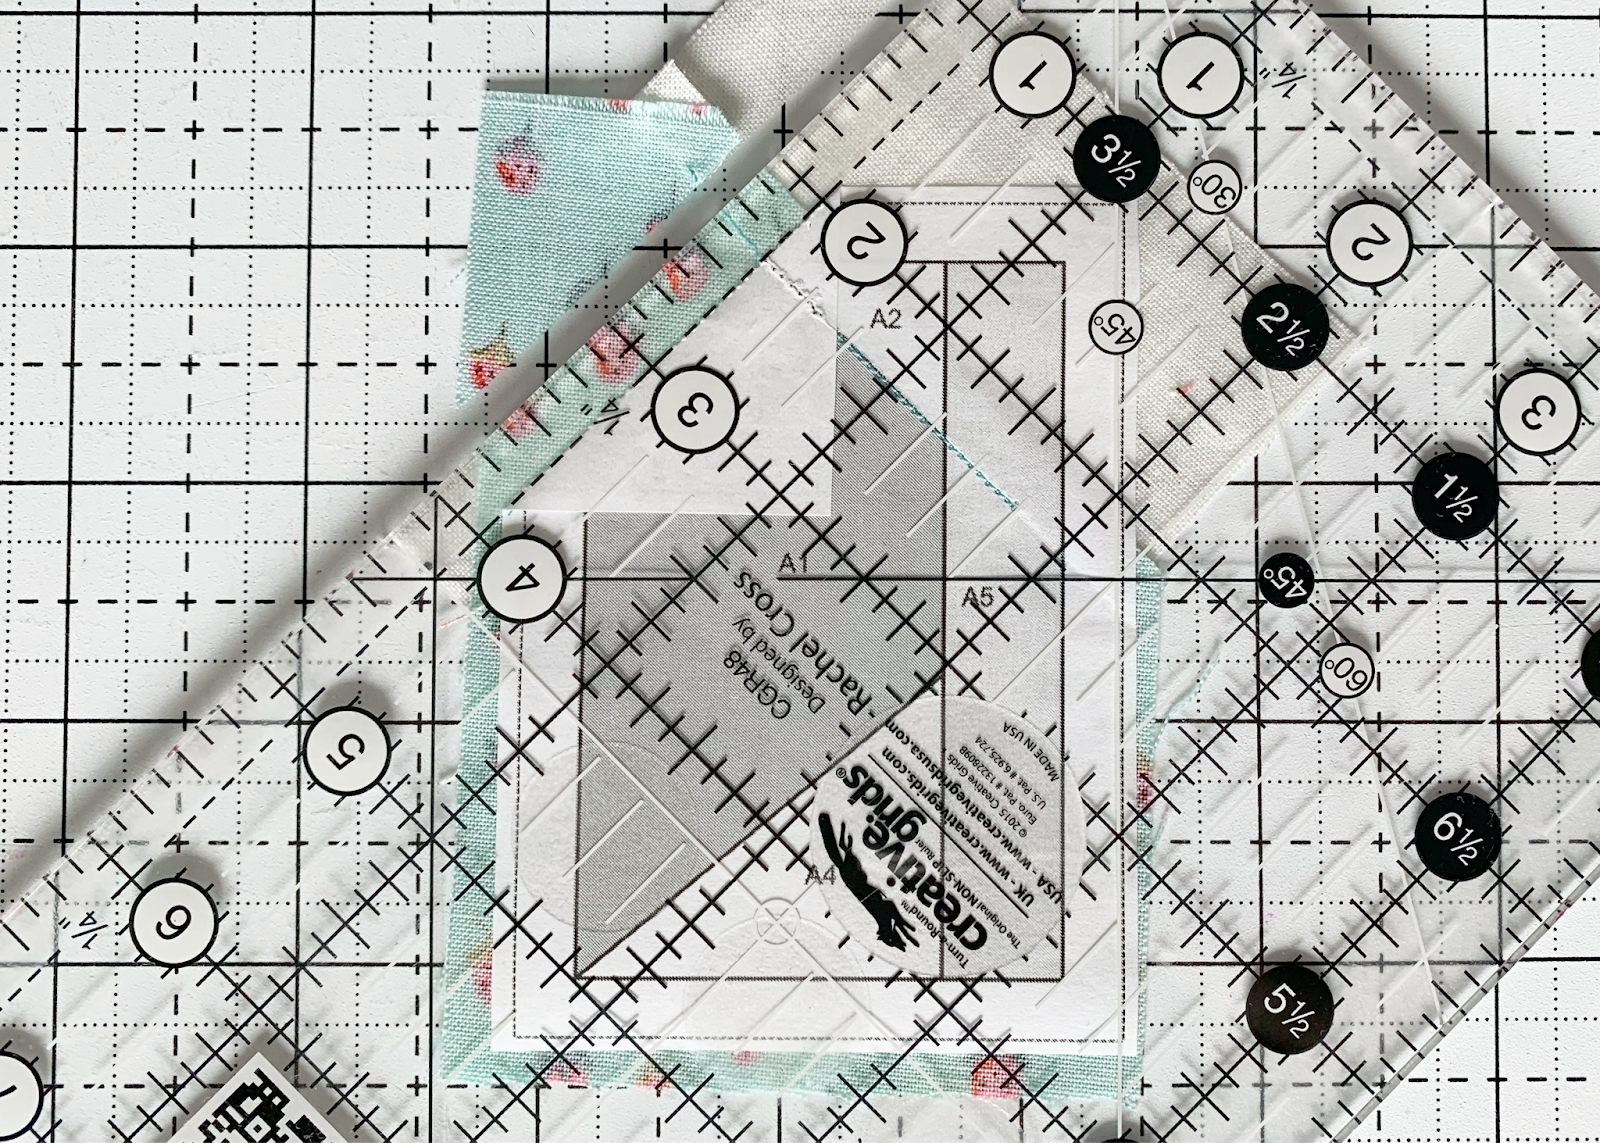
TRIM THE SEGMENT TO THE SIZE OF THE PAPER
Once you’ve sewn all the pieces to a segment, use your rotary cutter to trim the block down to the dashed outline of the segment.
Continue by sewing the second segment in the same manner.
SEW THE SEGMENTS TOGETHER
Place the two segments, still attached to the papers, right sides together. Then sew along one of the segment edge lines, sewing the segments together, papers and all.
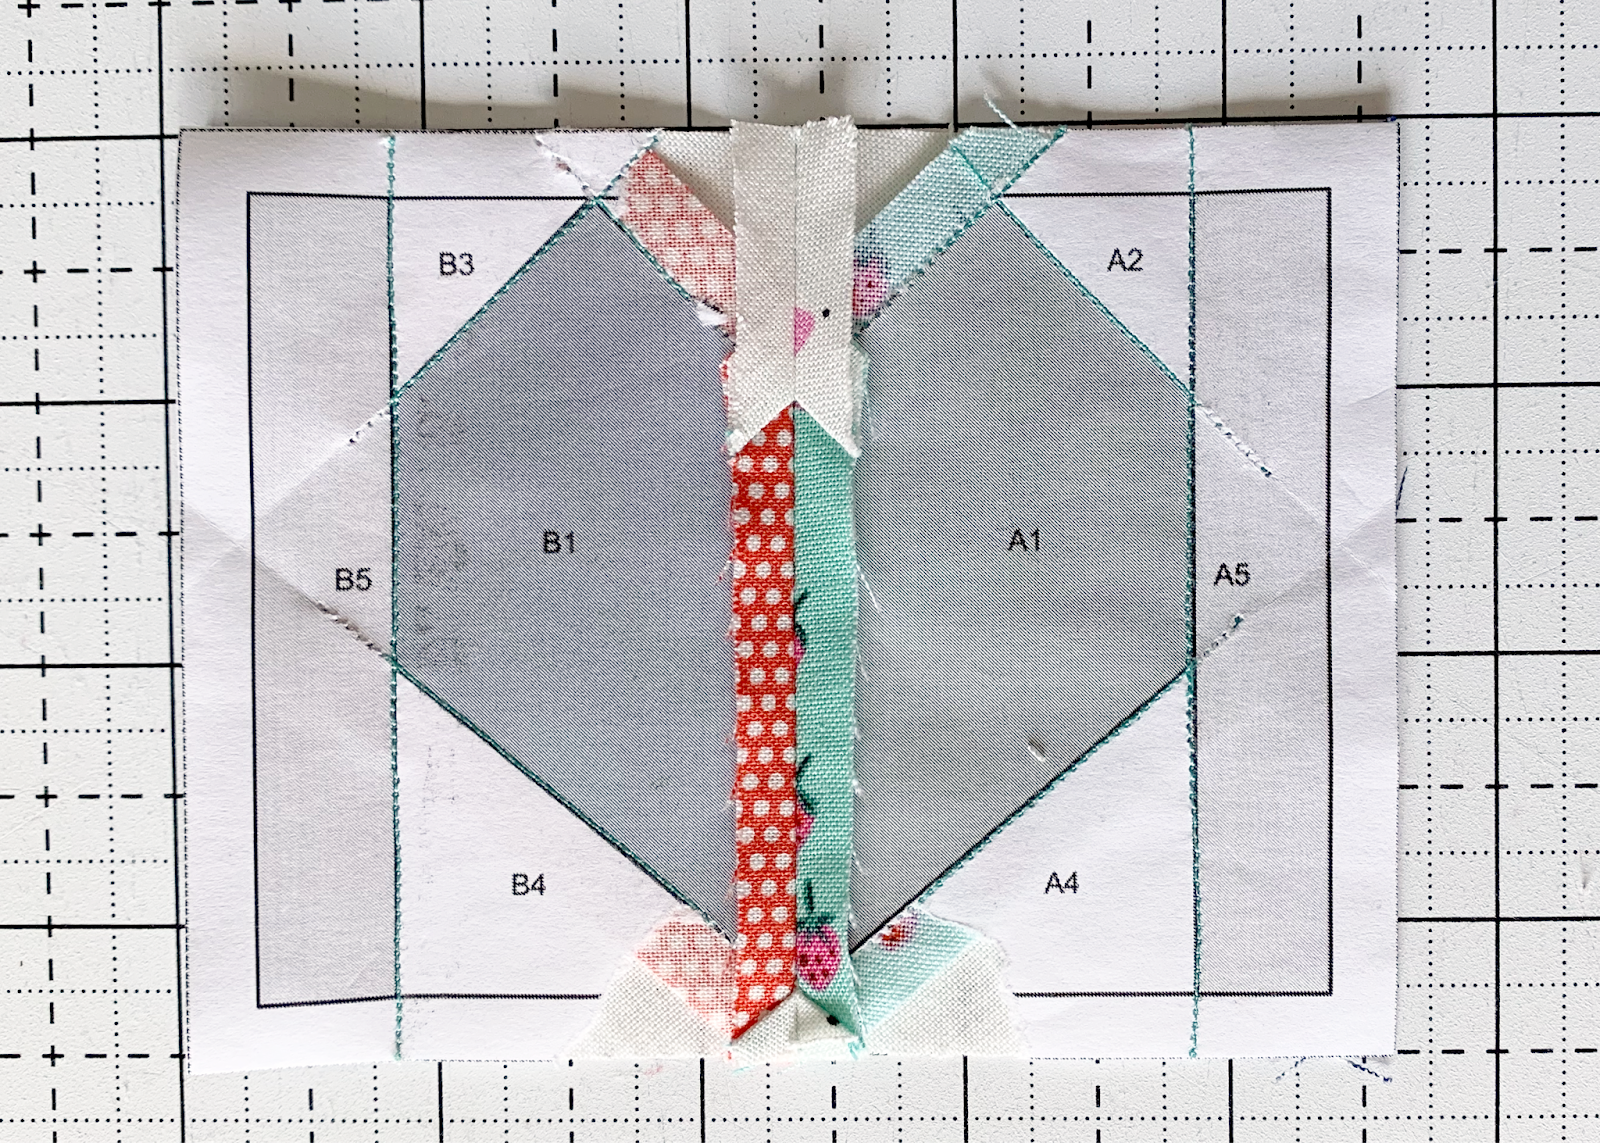
Press the seams of the papers open. Before going on to sew the next segment, tear away any papers that would be under the seam allowance of the first segment seam. In this photo you can see I tore away a triangle near that would be sewn under the seam when adding the top and bottom segment.
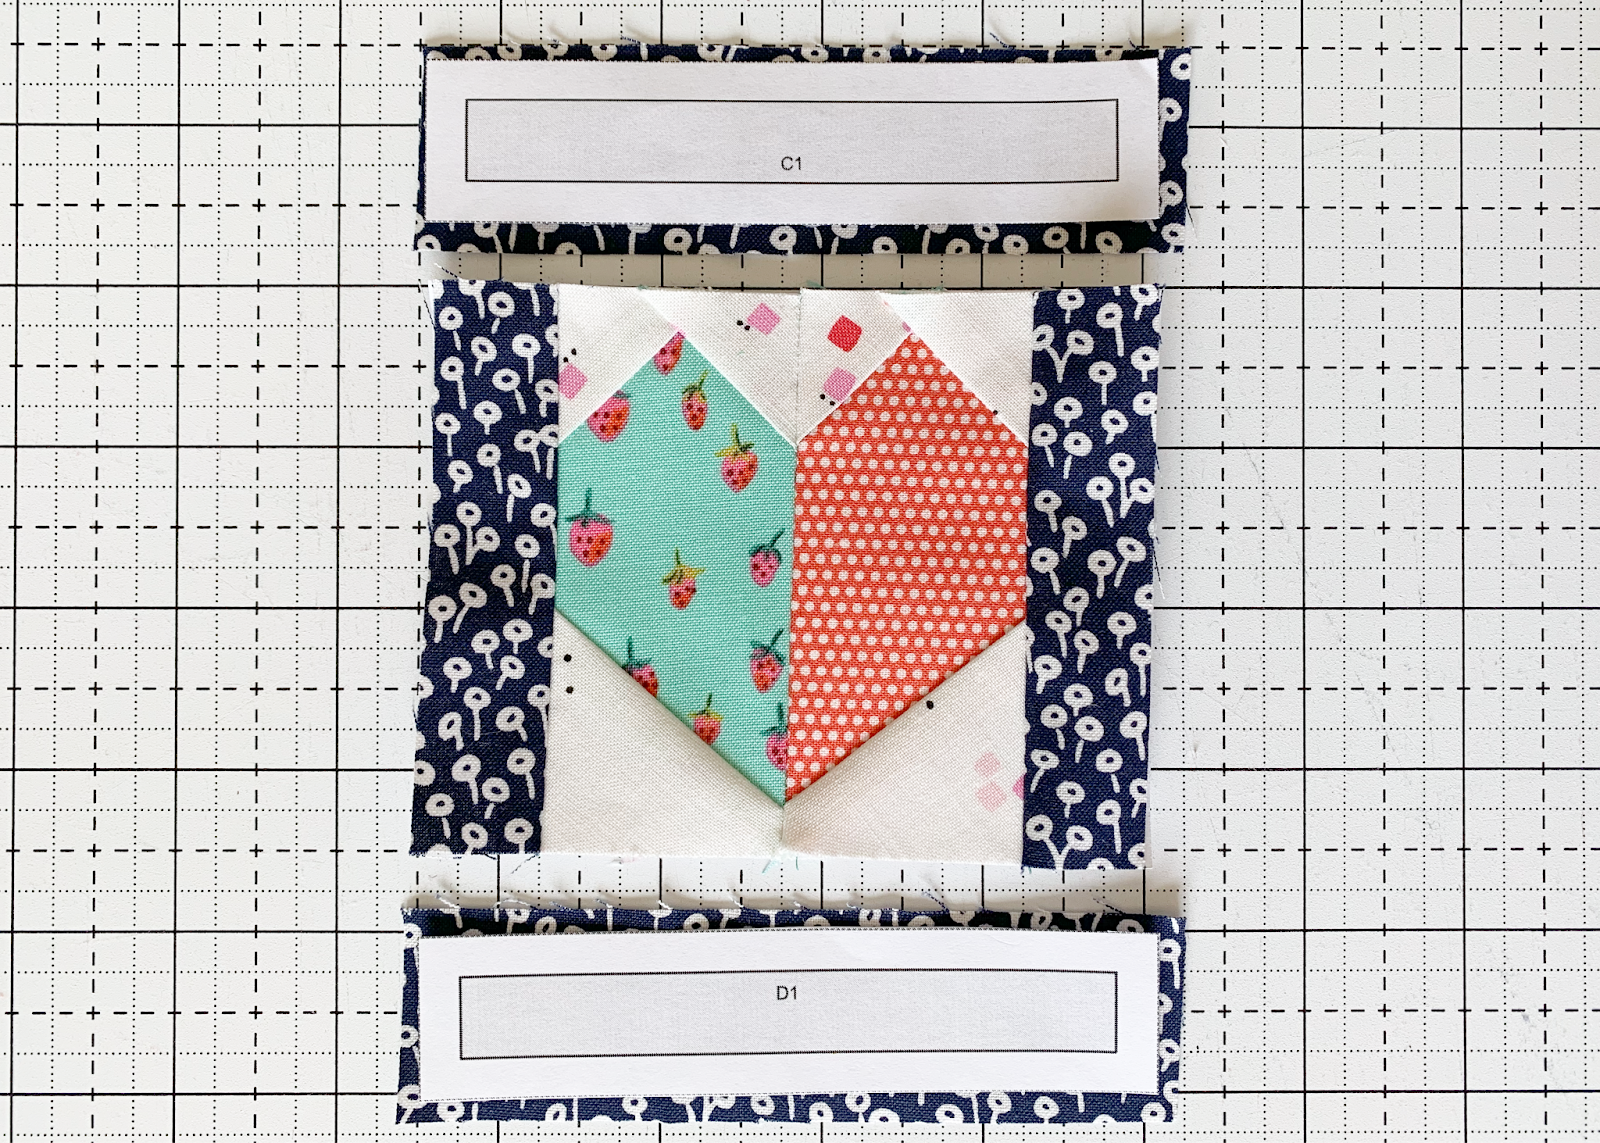
I’ve left the rest of the papers intact to help guide my sewing for perfect points. Sew the top and bottom segments together in the same manner, I did not attach my segments to the papers, but used the segments as templates.
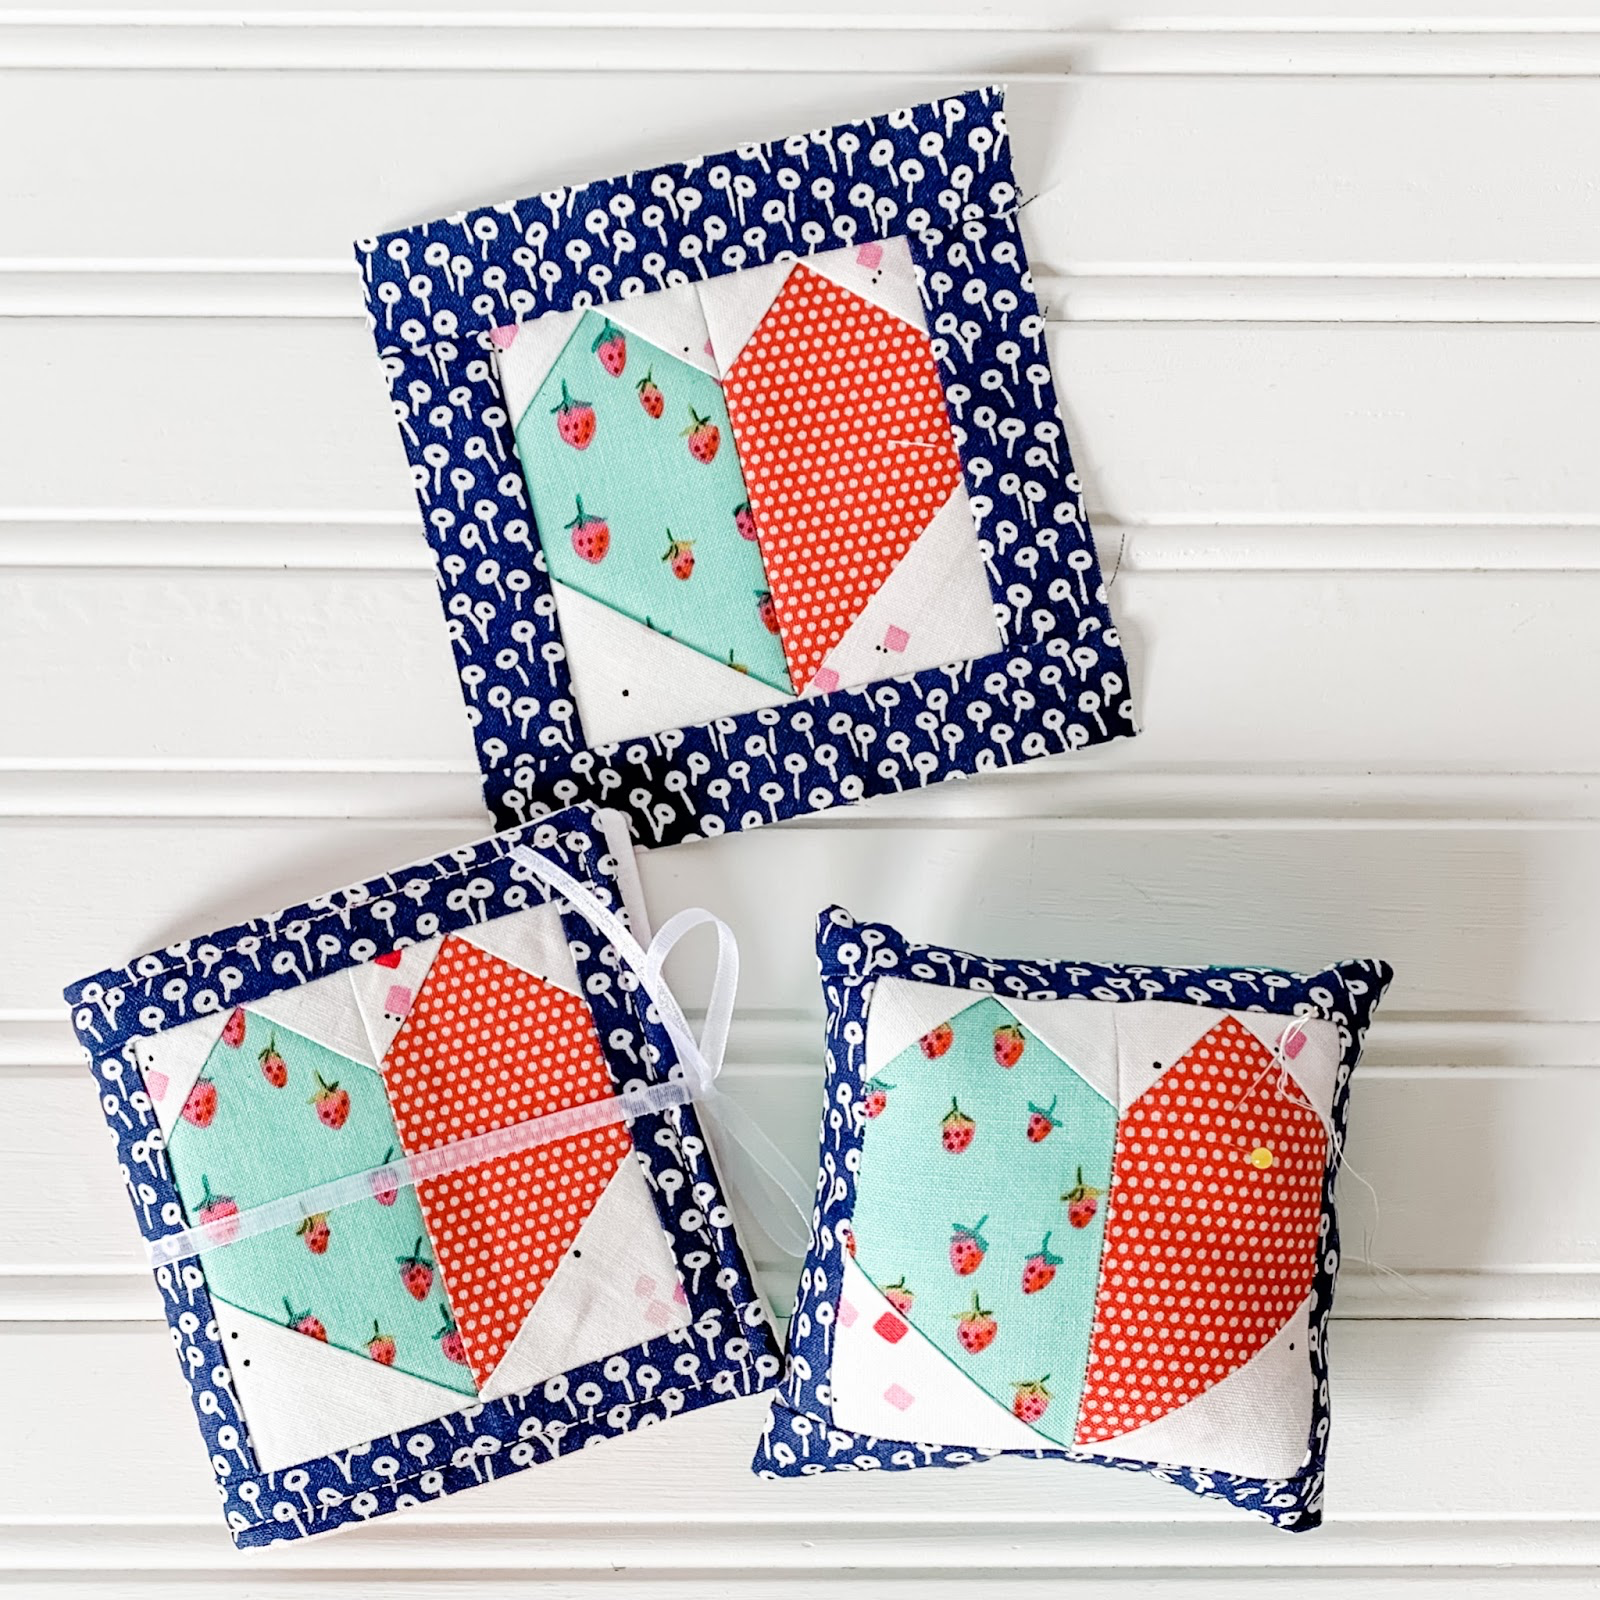
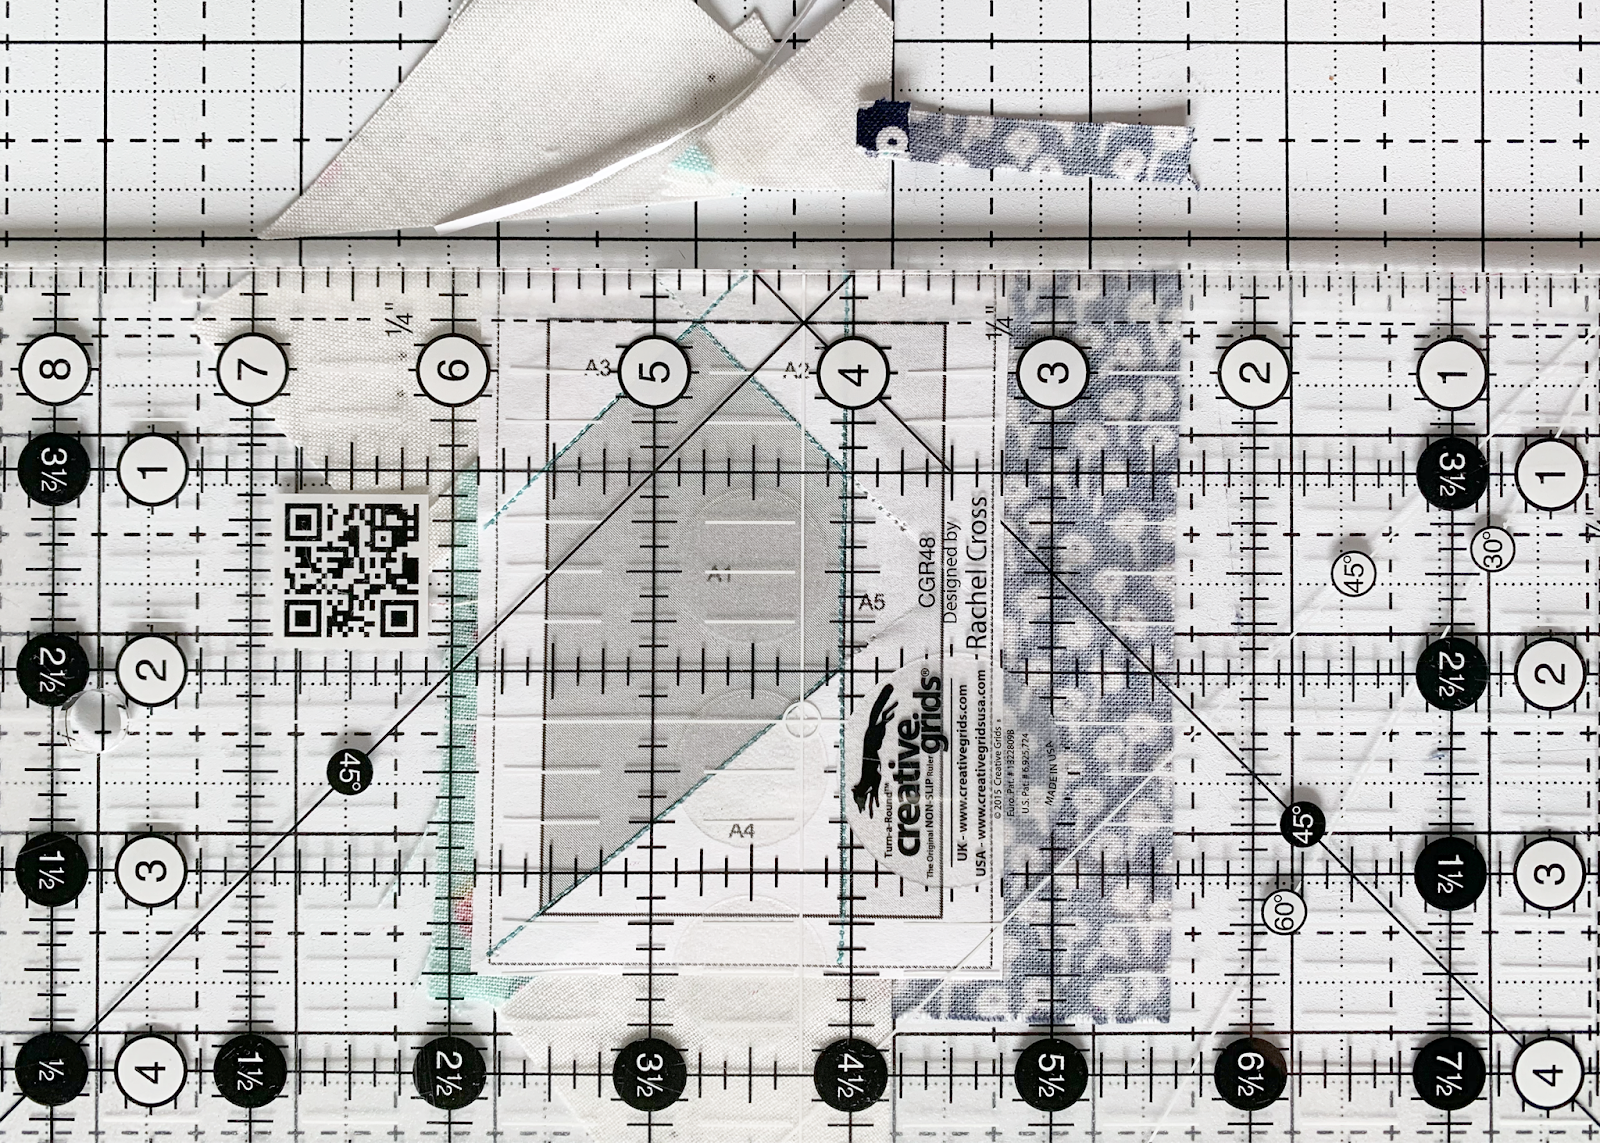
TRIM AND FINISH THE FOUNDATION PIECED BLOCK
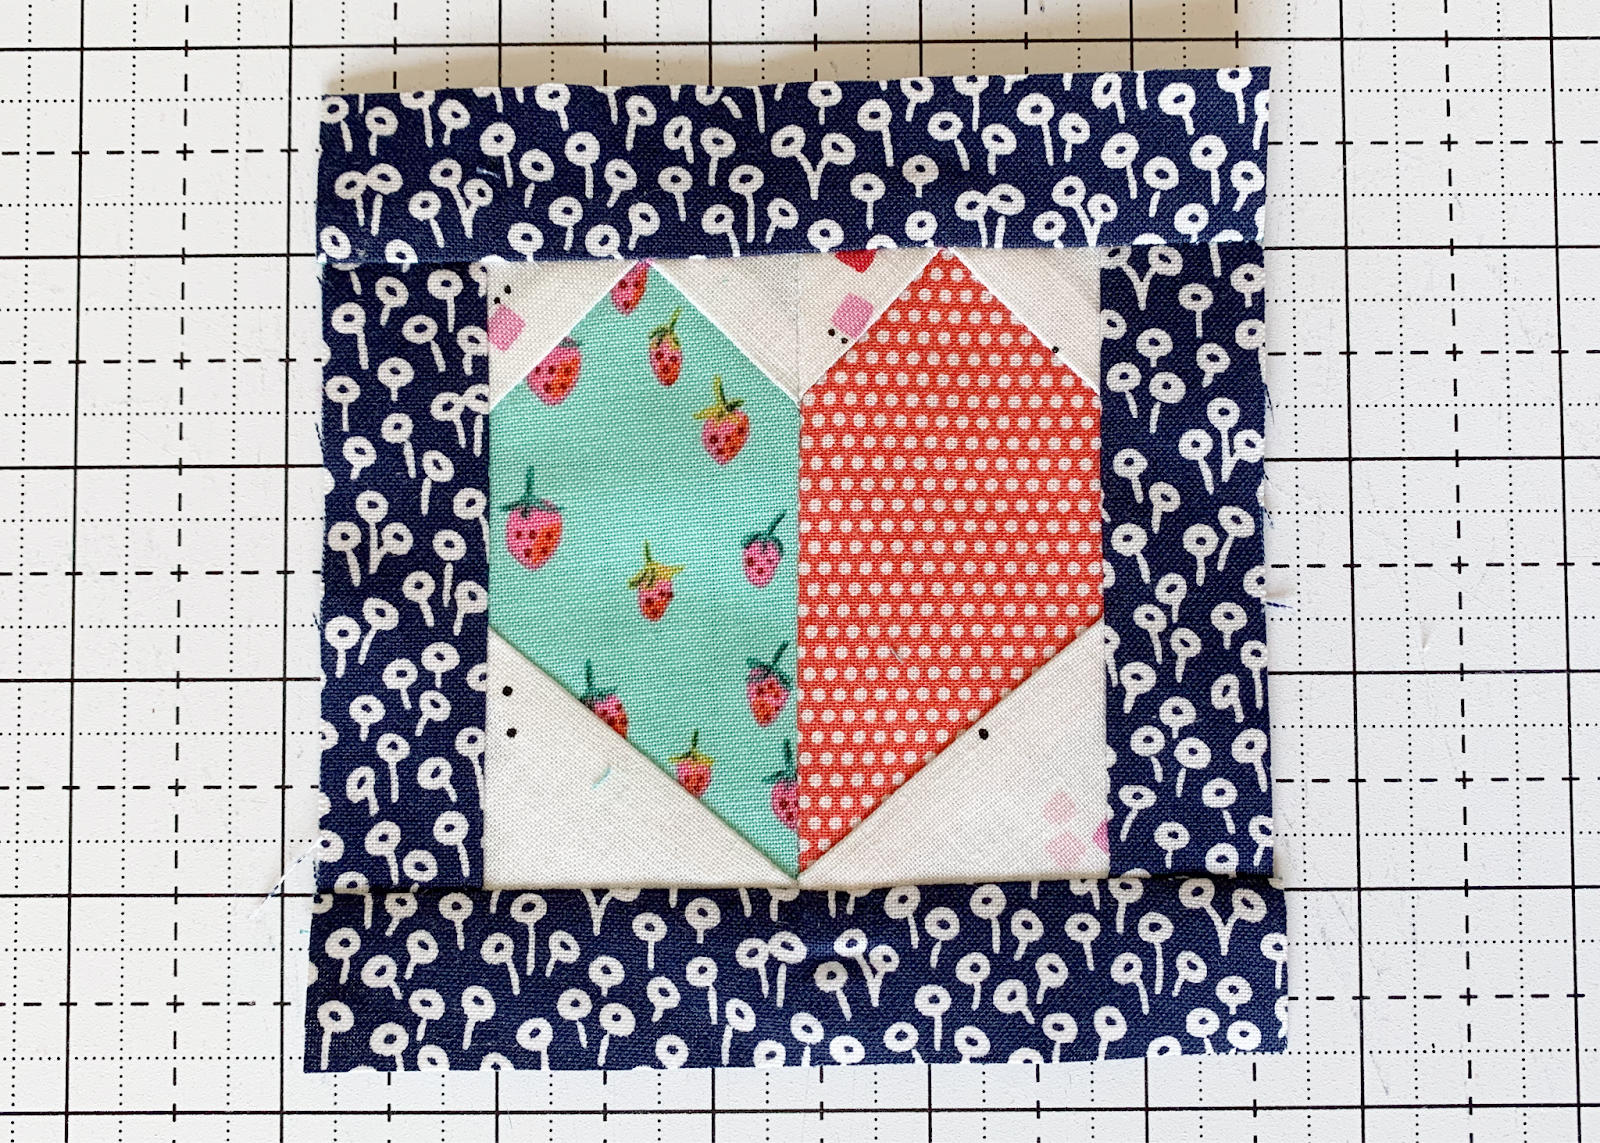
After sewing the final segments, trim the block to 4 ½” square and your block is finished!
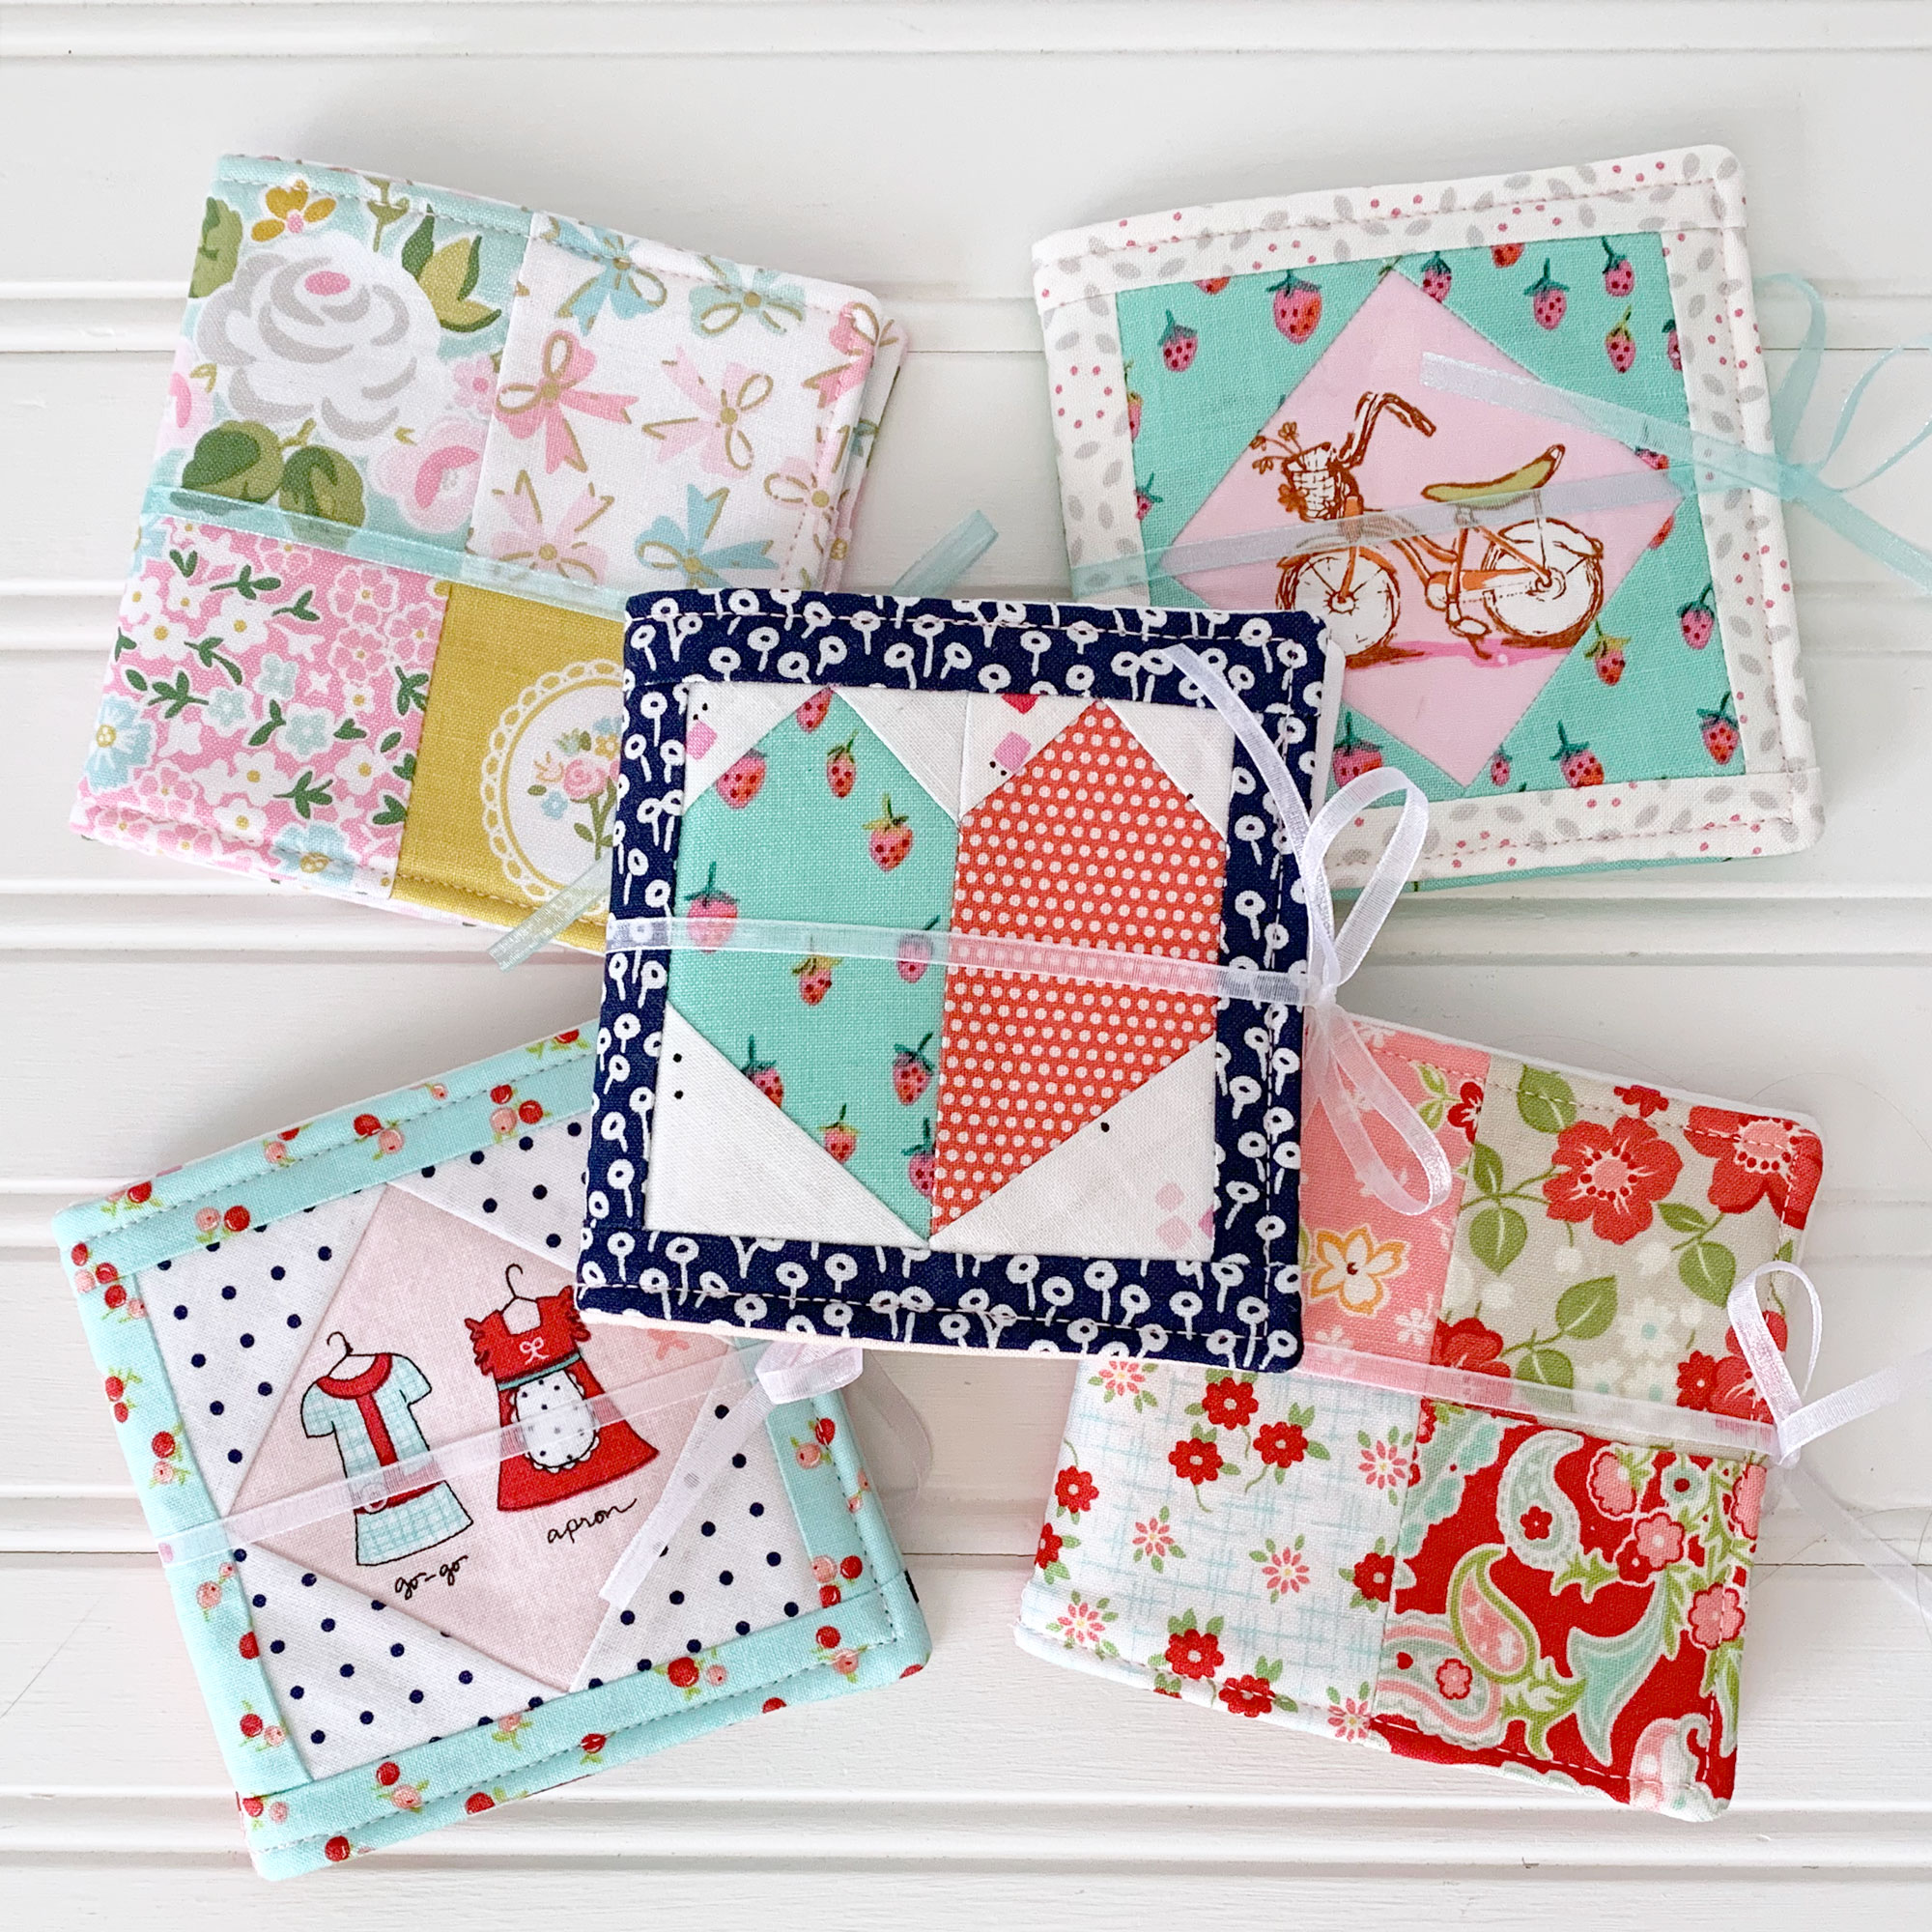
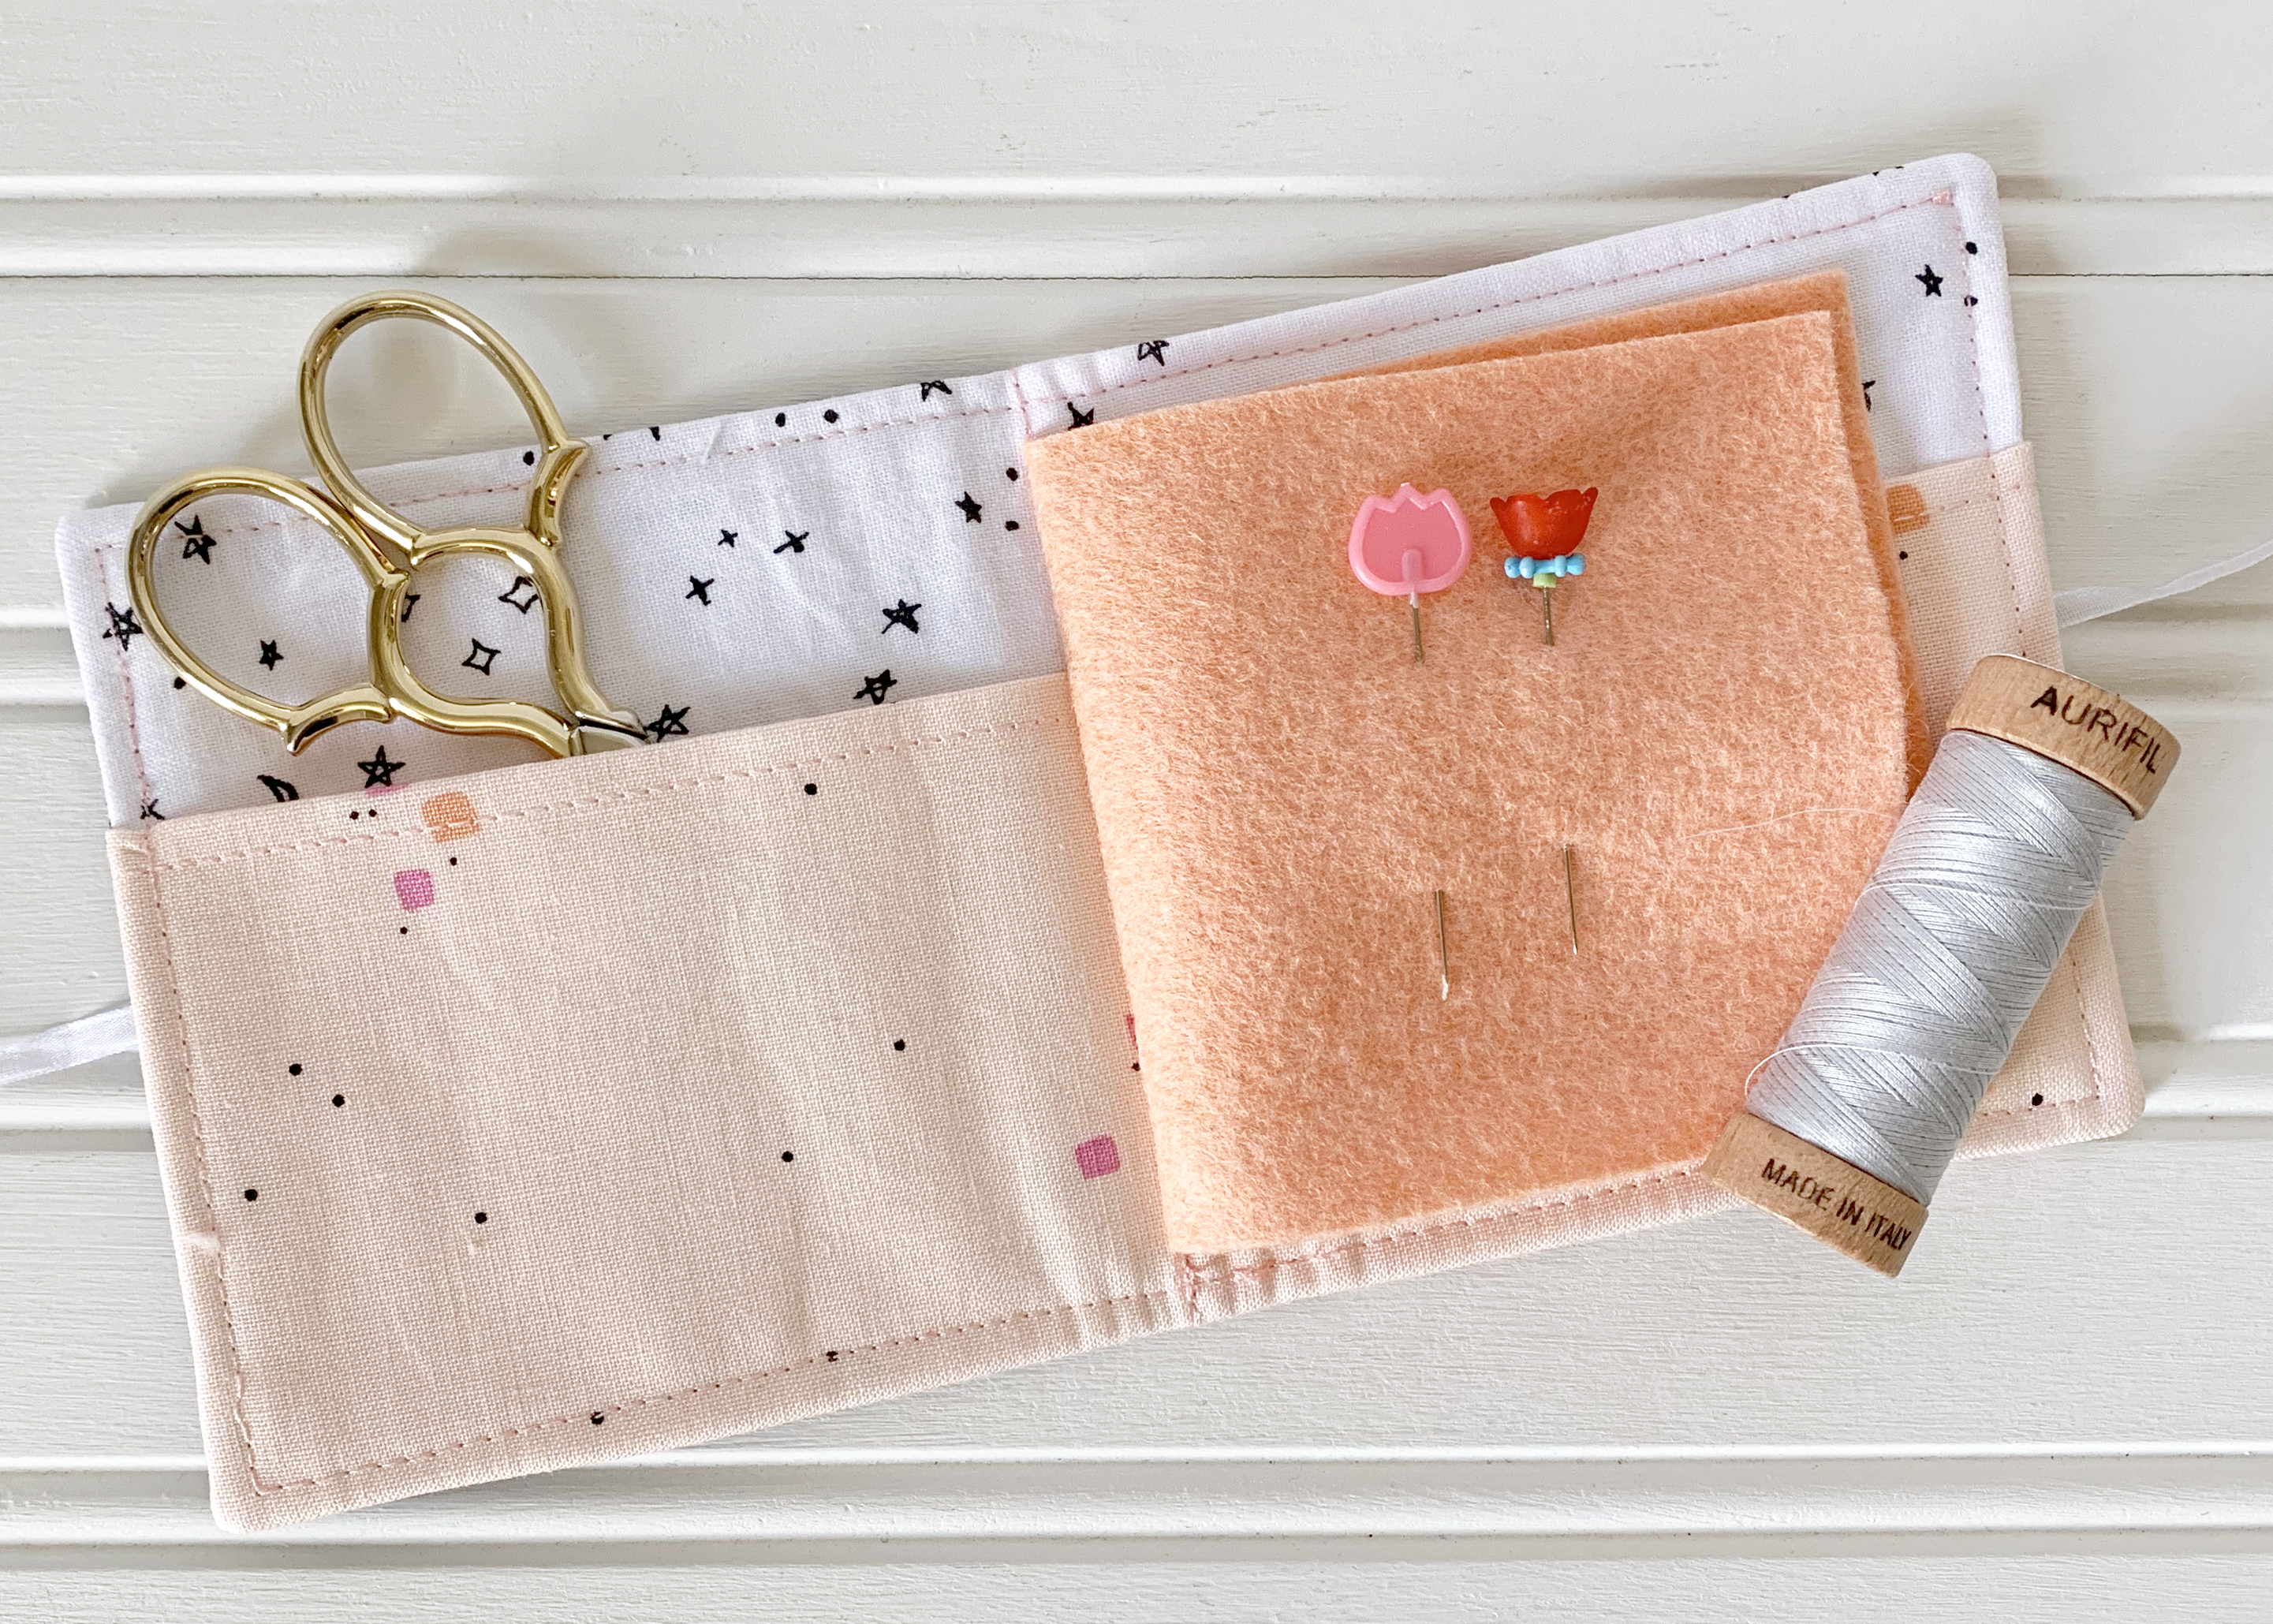
MINI NEEDLE BOOK PATTERN, PERFECT FOR TRYING FOUNDATION PAPER PIECING!
New Pattern Just for You
I’ve created this heart FPP template to go with my Mini Needle Book pattern and I’m sharing the technique I use for FPP, you can get the free pattern plus the video tutorial here.
Share Your Makes with Me
I would love to see your finished Mini Needle Books! Please share them with me on social media at @cloverandviolet and tag me in your post so I can see them. Use the hashtag #candvminineedlebook to share it with me and see what others are making!
Thank you for visiting Clover & Violet, leave a comment to let me know what you’re making or what technique you’d love to learn in the future!
Happy Sewing, Jennie xo
Your heart quilt block is clear, precise, and so pretty! And I love how simple it is to make! I wanted to drop a quick message to let you know that I’ve featured your tutorial (with proper credit) on Crafts on Display, hope you enjoy it! https://craftsondisplay.com/quilting/free-heart-fpp-template-90872/