
Embroidery 101: Split Stitch
It seems that most of the stitches lately have been outline stitches…and I have another one here. The Split Stitch is about as common as the back stitch. It is a great, basic outline stitch. Now, I know that many of you {like me} are using perle cottons for this Stitch & Quilt Along, so the Split Stitch is a little bit harder {since the threads aren’t dividable}. However, it’s still doable, and a stitch everyone should know. So, just try to split the perle cotton just like you’d split a stranded floss. {Note: I used a stranded floss for the examples to give a better idea of how the stitch looks.}
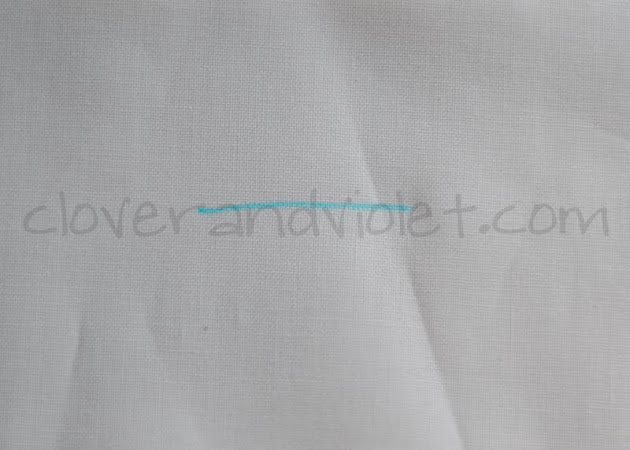
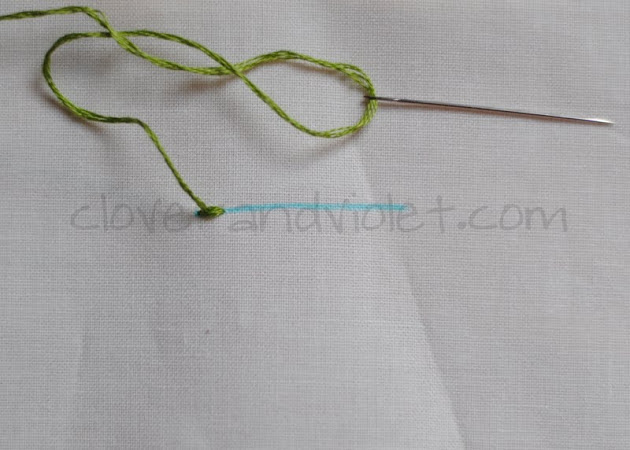
Begin at the very end of the stitching line,
and make a stitch longer than you would a normal back stitch.
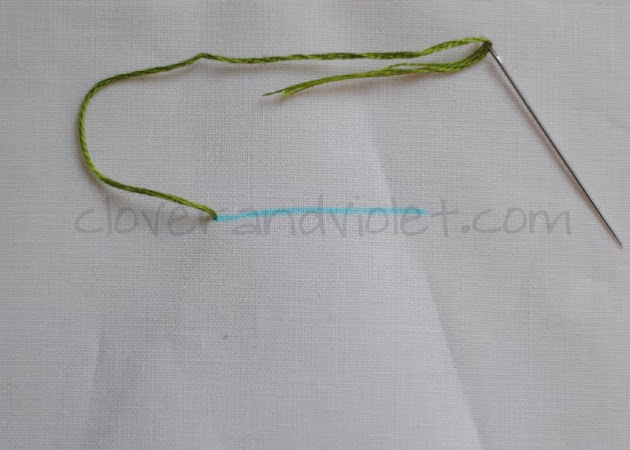
Then bring your thread back up through the completed stitch, splitting the threads.
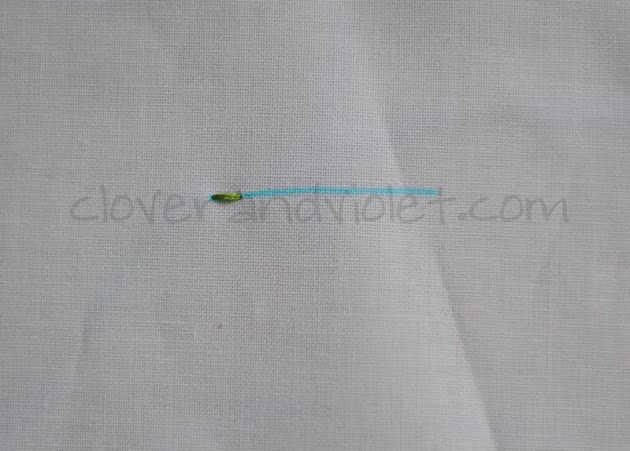
Make another stitch, stitch beyond the end of the first stitch.
Again, bring the thread up in between the strands of the previous stitch.

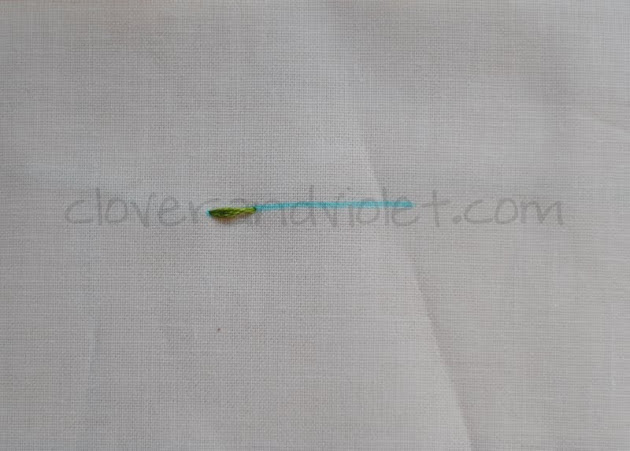
Continue to stitch forward. A line of Split Stitch should look like this when finished:

I think you’ll find this stitch very easy and you may even want to use it to replace some of the back stitch throughout your embroidery projects.

Just finished my sun. I love this stitch!